2 - Cash Registers
2 - Cash Registers
2 - Cash Registers
Create successful ePaper yourself
Turn your PDF publications into a flip-book with our unique Google optimized e-Paper software.
8<br />
3. Insert three new alkaline batteries LR6 (“AA” size) as illustrated at the right.<br />
When the batteries are properly installed “ ” on the display will disappear.<br />
4. Close the battery compartment cover.<br />
4<br />
Be sure to observe precautions shown on page 1 when handling<br />
batteries.<br />
Installing a paper roll<br />
Precaution: The paper cutter is mounted on the printer cover. Take caution when removing and<br />
installing the cover.<br />
The register can print receipts or journals. For the printer, you must install the paper roll provided with the<br />
register, even when you program the register for not printing receipts or journals.<br />
Install the paper roll according to the procedure shown below with the AC cord connected and the mode switch<br />
set to the REG position:<br />
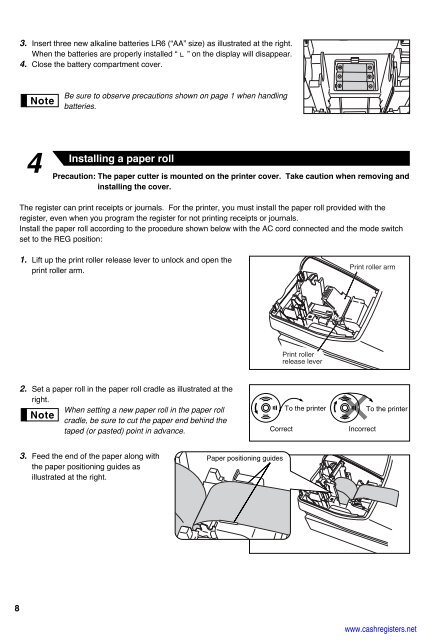
1. Lift up the print roller release lever to unlock and open the<br />
print roller arm.<br />
2. Set a paper roll in the paper roll cradle as illustrated at the<br />
right.<br />
When setting a new paper roll in the paper roll<br />
cradle, be sure to cut the paper end behind the<br />
taped (or pasted) point in advance.<br />
3. Feed the end of the paper along with<br />
the paper positioning guides as<br />
illustrated at the right.<br />
Correct<br />
Paper positioning guides<br />
Print roller<br />
release lever<br />
To the printer<br />
Print roller arm<br />
Incorrect<br />
To the printer<br />
www.cashregisters.net


