Breaker Interface Module II - Eaton Canada
Breaker Interface Module II - Eaton Canada
Breaker Interface Module II - Eaton Canada
Create successful ePaper yourself
Turn your PDF publications into a flip-book with our unique Google optimized e-Paper software.
Page 20<br />
details on the capabilities of individual trip units, refer to<br />
Instruction Book 29C891 covering OPTIM Trip Units,<br />
and Instruction Book 70C1036 covering Magnum 1150<br />
Trip Units.<br />
4-4.1 SETTING DATE AND TIME<br />
The present date and time are displayed first under the<br />
System display menu. If, for any reason, the displayed<br />
date and/or time must be altered, the programmable Set<br />
Time and Set Date features are available for this purpose.<br />
Procedural steps to accomplish these changes<br />
follow:<br />
Step 1: Use the Up or Down pushbuttons to move to<br />
the System display menu.<br />
Step 2: Use the Select pushbutton to enter the<br />
System display menu. The present date will be<br />
the first display (Figure 4-6).<br />
Step 3: Continue using the Down or Next pushbutton<br />
to move to the Set Date display (Figure 4-7).<br />
Step 4: To enter Set Date, press and release the<br />
Select pushbutton. The display will ask for a<br />
protective password. Use the Up or Down<br />
pushbuttons to arrive at a valid password. As<br />
previously mentioned, the factory programmed<br />
password is 10000.<br />
Step 5: Use the Select pushbutton to enter the valid<br />
password. Once the password is accepted, the<br />
present date first viewed in Figure 4-6 will be<br />
displayed with the two character month blinking.<br />
The blinking indicates which characters<br />
are able to be changed. Use the Up or Down<br />
pushbuttons to make the changes.<br />
Step 6: Once any required change is made to the<br />
month, use the Next pushbutton to move to the<br />
day and year for any necessary changes.<br />
Step 7: When the displayed date is correct, press and<br />
release the Select and Next pushbuttons<br />
simultaneously to enter the new date into<br />
memory.<br />
I.B. 29C893B<br />
Step 8: Use the Down pushbutton to move to the Set<br />
Time display if a change in the time is required.<br />
To alter the present programmed time, the procedure<br />
is the same as just described in the previous<br />
steps for changing the date.<br />
Step 9: Use the Escape pushbutton to return to the<br />
System display menu.<br />
4-4.2 UPDATING FOR ADDED DEVICES<br />
As outlined in Paragraph 2-3.1, DIP switch 1 in the<br />
down position puts the <strong>Breaker</strong> <strong>Interface</strong> <strong>Module</strong> in the<br />
Learn mode. In this position, a newly installed <strong>Breaker</strong><br />
<strong>Interface</strong> <strong>Module</strong> is capable of learning the addresses<br />
and descriptions of all system devices. If new devices<br />
are added to an existing system at a future time, an<br />
Update feature is provided as part of the System display<br />
menu to permit the learning of new device addresses<br />
and descriptions. Use of this feature will not only<br />
learn and store the new information, it protects already<br />
stored addresses and descriptions from any inadvertent<br />
changes. To use the Update feature, refer to the following<br />
steps:<br />
Step 1: Move DIP switch 1 to the down position (Learn<br />
mode).<br />
Step 2: Use the Up or Down pushbuttons to move to<br />
the System display menu.<br />
Step 3: Use the Select pushbutton to enter the<br />
System display menu. The present date will be<br />
the first display (Figure 4-6).<br />
Step 4: Continue using the Down or Next pushbuttons<br />
to move to the Update display. To enter<br />
Update, press and release the Select pushbutton.<br />
Learn ? will appear in the Function<br />
Display (Figure 4-3).<br />
Step 5: Press and release the Select pushbutton again.<br />
The display will ask for a protective password.<br />
Use the Up or Down pushbuttons to arrive at a<br />
valid password. As previously mentioned, the<br />
factory programmed password is 10000.<br />
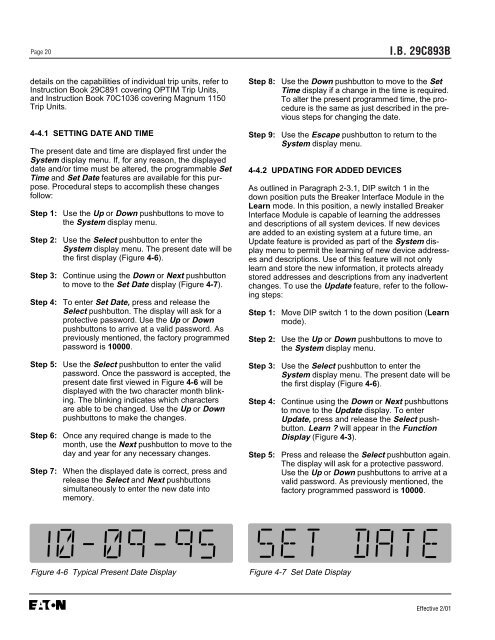
Figure 4-6 Typical Present Date Display Figure 4-7 Set Date Display<br />
Effective 2/01


