

Breaker Interface Module II - Eaton Canada
Breaker Interface Module II - Eaton Canada
Breaker Interface Module II - Eaton Canada

Create successful ePaper yourself
Turn your PDF publications into a flip-book with our unique Google optimized e-Paper software.
Page 22<br />
Step 2: Use the Select pushbutton to enter the System<br />
display menu.<br />
Step 3: Continue using the Down or Next pushbuttons<br />
to move to the Set Group Description display<br />
(Figure 4-11).<br />
Step 4: Press and release the Select pushbutton again.<br />
The display will ask for a protective password.<br />
Use the Up or Down pushbuttons to arrive at a<br />
valid password. As previously mentioned, the<br />
factory programmed password is 10000.<br />
Step 5: Use the Select pushbutton to enter the valid<br />
password. Once the password is accepted, the<br />
Function Display will indicate Group 01. Use<br />
the Select pushbutton to select which group, 1<br />
through 8, is to be assigned.<br />
Step 6: When the Group Description is entered, the<br />
far left character in the Description Display<br />
also begins blinking. The blinking indicates<br />
which character is able to be changed. The<br />
description can be up to 8 characters in length.<br />
The choice of characters can be a blank space,<br />
*, +, -, ?, a number from 0 to 9, or a letter from<br />
A to Z.<br />
Step 7: Use the Up or Down pushbuttons to change<br />
individual characters and the Next pushbutton<br />
to move from one character to another.<br />
Step 8: When the displayed description is acceptable,<br />
press and release the Select and Next pushbuttons<br />
simultaneously to enter the new group<br />
description into memory. The <strong>Breaker</strong> <strong>Interface</strong><br />
<strong>Module</strong> returns to displaying the device in the<br />
Description Display and Set Group<br />
Description again appears in the Function<br />
Display.<br />
4-4.5 CHANGE ENERGY SYNCHRONIZATION MODE<br />
The energy synchronization mode may be assigned<br />
using the Set Sync Mode feature provided as part of<br />
the System display menu. Proceed with the following<br />
steps to make any desired changes:<br />
Figure 4-11 Set Group Description Display<br />
I.B. 29C893B<br />
Step 1: Use the Up or Down pushbuttons to move to<br />
the System display menu.<br />
Step 2: Use the Select pushbutton to enter the System<br />
display menu.<br />
Step 3: Continue using the Down or Next pushbuttons<br />
to move to the Set Sync Mode display (Figure<br />
4-12).<br />
Step 4: Press and release the Select pushbutton again.<br />
The display will ask for a protective password.<br />
Use the Up or Down pushbuttons to arrive at a<br />
valid password. As previously mentioned, the<br />
factory programmed password is 10000.<br />
Step 5: Use the Select pushbutton to enter the valid<br />
password. Once the password is accepted, the<br />
current synchronization mode setting will be displayed<br />
(Figure 4-13).<br />
Step 6: Use the Up or Down pushbuttons to change the<br />
setting.<br />
Step 7: Use the Next pushbutton to advance to the<br />
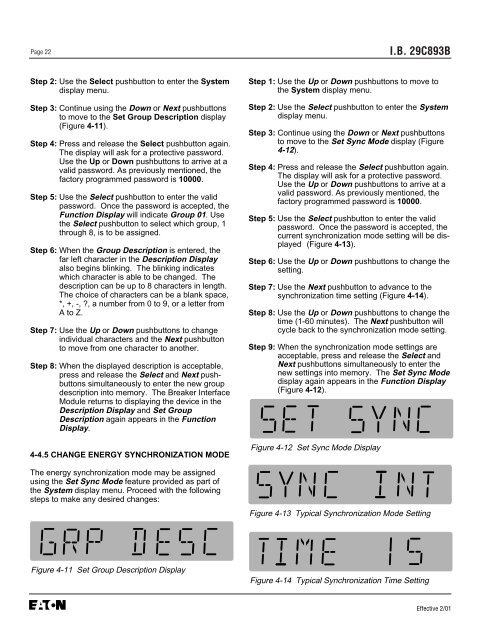
synchronization time setting (Figure 4-14).<br />
Step 8: Use the Up or Down pushbuttons to change the<br />
time (1-60 minutes). The Next pushbutton will<br />
cycle back to the synchronization mode setting.<br />
Step 9: When the synchronization mode settings are<br />
acceptable, press and release the Select and<br />
Next pushbuttons simultaneously to enter the<br />
new settings into memory. The Set Sync Mode<br />
display again appears in the Function Display<br />
(Figure 4-12).<br />
Figure 4-12 Set Sync Mode Display<br />
Figure 4-13 Typical Synchronization Mode Setting<br />
Figure 4-14 Typical Synchronization Time Setting<br />
Effective 2/01


