

Breaker Interface Module II - Eaton Canada
Breaker Interface Module II - Eaton Canada
Breaker Interface Module II - Eaton Canada

Create successful ePaper yourself
Turn your PDF publications into a flip-book with our unique Google optimized e-Paper software.
I.B. 29C893B Page 23<br />
4-4.6 ASSIGN THE PEAK EXCEEDED OUTPUT<br />
The peak exceeded relay output may be assigned to<br />
NONE, one of the 50 devices or one of the 8 groups.<br />
This is accomplished using the Set Peak Exceeded<br />
feature provided as part of the System display menu.<br />
Proceed with the following steps to make any desired<br />
changes:<br />
Step 1: Use the Up or Down pushbuttons to move to<br />
the System display menu.<br />
Step 2: Use the Select pushbutton to enter the System<br />
display menu.<br />
Step 3: Continue using the Down or Next pushbuttons<br />
to move to the Set Peak Exceeded display<br />
(Figure 4-15).<br />
Step 4: Press and release the Select pushbutton again.<br />
The display will ask for a protective password.<br />
Use the Up or Down pushbuttons to arrive at a<br />
valid password. As previously mentioned, the<br />
factory programmed password is 10000.<br />
Step 5: Use the Select pushbutton to enter the valid<br />
password. Once the password is accepted, the<br />
current watt-hour pulse initiator output setting<br />
will be displayed (Figures 4-16, 4-17 or 4-18).<br />
Step 6: Use the Up or Down or Next pushbuttons to<br />
change the setting.<br />
Step 7: When the peak exceeded output setting is<br />
acceptable, press and release the Select and<br />
Next pushbuttons simultaneously to enter the<br />
new settings into memory. The Set Peak<br />
Exceeded display again appears in the<br />
Function Display (Figure 4-15).<br />
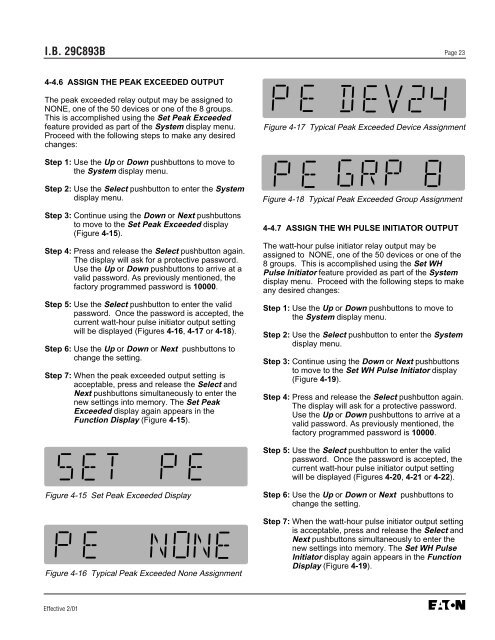
Figure 4-15 Set Peak Exceeded Display<br />
Figure 4-16 Typical Peak Exceeded None Assignment<br />
Effective 2/01<br />
Figure 4-17 Typical Peak Exceeded Device Assignment<br />
Figure 4-18 Typical Peak Exceeded Group Assignment<br />
4-4.7 ASSIGN THE WH PULSE INITIATOR OUTPUT<br />
The watt-hour pulse initiator relay output may be<br />
assigned to NONE, one of the 50 devices or one of the<br />
8 groups. This is accomplished using the Set WH<br />
Pulse Initiator feature provided as part of the System<br />
display menu. Proceed with the following steps to make<br />
any desired changes:<br />
Step 1: Use the Up or Down pushbuttons to move to<br />
the System display menu.<br />
Step 2: Use the Select pushbutton to enter the System<br />
display menu.<br />
Step 3: Continue using the Down or Next pushbuttons<br />
to move to the Set WH Pulse Initiator display<br />
(Figure 4-19).<br />
Step 4: Press and release the Select pushbutton again.<br />
The display will ask for a protective password.<br />
Use the Up or Down pushbuttons to arrive at a<br />
valid password. As previously mentioned, the<br />
factory programmed password is 10000.<br />
Step 5: Use the Select pushbutton to enter the valid<br />
password. Once the password is accepted, the<br />
current watt-hour pulse initiator output setting<br />
will be displayed (Figures 4-20, 4-21 or 4-22).<br />
Step 6: Use the Up or Down or Next pushbuttons to<br />
change the setting.<br />
Step 7: When the watt-hour pulse initiator output setting<br />
is acceptable, press and release the Select and<br />
Next pushbuttons simultaneously to enter the<br />
new settings into memory. The Set WH Pulse<br />
Initiator display again appears in the Function<br />
Display (Figure 4-19).


