
You also want an ePaper? Increase the reach of your titles
YUMPU automatically turns print PDFs into web optimized ePapers that Google loves.
To Setup and use E-Wire:<br />
Setup PatchMix DSP<br />
1. Open PatchMix DSP application.<br />
2. Insert an ASIO <strong>Input</strong> mixer strip into PatchMix DSP. (Alternately, you can select<br />
“New Session”, select “E-Wire Example” and skip to step 6.)<br />
3. Mute the strip or turn the Fader all the way down.<br />
4. Insert an ASIO Send plug-in into one of the inserts on your ASIO strip.<br />
5. Name your ASIO strip as an E-Wire strip.<br />
6. Insert the desired PatchMix DSP effects into slots above the ASIO Send.<br />
7. Save the Session.<br />
Setup Cubase<br />
8. Launch Cubase.<br />
9. Instantiate E-Wire VST in an Insert or Aux Send location within Cubase.<br />
10. Edit the E-Wire plug-in and activate the plug-in by pressing the blue button.<br />
11. Set the ASIO Send and Return on the E-Wire plug-in to match the strip you set up<br />
for E-Wire.<br />
12. Done.<br />
E-Delay Compensation<br />
An E-Delay Compensator must be inserted into any other audio tracks that are not<br />
using E-Wire in order to keep them time-aligned.<br />
13. Simply insert an E-Delay Compensator plug-in into the same insert location you<br />
used for E-Wire on any other audio tracks. That’s it.<br />
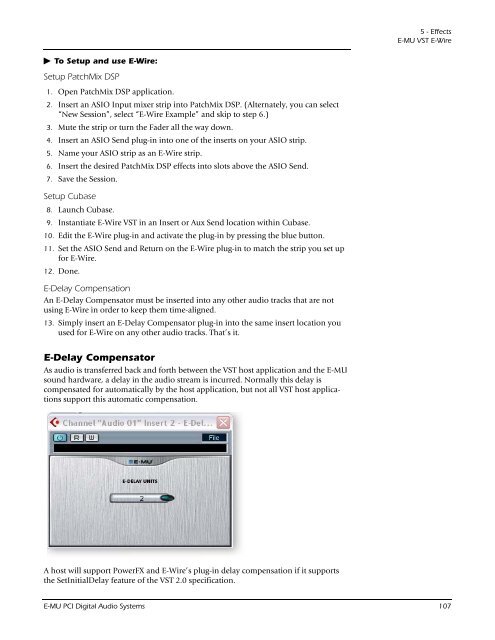
E-Delay Compensator<br />
As audio is transferred back and forth between the VST host application and the E-MU<br />
sound hardware, a delay in the audio stream is incurred. Normally this delay is<br />
compensated for automatically by the host application, but not all VST host applications<br />
support this automatic compensation.<br />
A host will support PowerFX and E-Wire’s plug-in delay compensation if it supports<br />
the SetInitialDelay feature of the VST 2.0 specification.<br />
5 - Effects<br />
E-MU VST E-Wire<br />
E-MU PCI Digital Audio Systems 107