

LilyPond Beginnershandleiding
LilyPond Beginnershandleiding
LilyPond Beginnershandleiding

Create successful ePaper yourself
Turn your PDF publications into a flip-book with our unique Google optimized e-Paper software.
Hoofdstuk 4: Tweaking output 106<br />
\new Staff ="main" {<br />
\relative g' {<br />
r4 g8 g c4 c8 d |<br />
e4 r8<br />
><br />
r4 |<br />
}<br />
}<br />
<br />
<br />
<br />
<br />
<br />
<br />
<br />
<br />
<br />
<br />
<br />
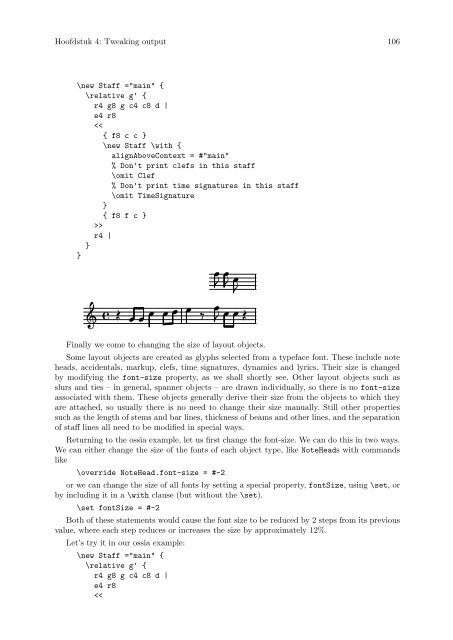
Finally we come to changing the size of layout objects.<br />
Some layout objects are created as glyphs selected from a typeface font. These include note<br />
heads, accidentals, markup, clefs, time signatures, dynamics and lyrics. Their size is changed<br />
by modifying the font-size property, as we shall shortly see. Other layout objects such as<br />
slurs and ties – in general, spanner objects – are drawn individually, so there is no font-size<br />
associated with them. These objects generally derive their size from the objects to which they<br />
are attached, so usually there is no need to change their size manually. Still other properties<br />
such as the length of stems and bar lines, thickness of beams and other lines, and the separation<br />
of staff lines all need to be modified in special ways.<br />
Returning to the ossia example, let us first change the font-size. We can do this in two ways.<br />
We can either change the size of the fonts of each object type, like NoteHeads with commands<br />
like<br />
\override NoteHead.font-size = #-2<br />
or we can change the size of all fonts by setting a special property, fontSize, using \set, or<br />
by including it in a \with clause (but without the \set).<br />
\set fontSize = #-2<br />
Both of these statements would cause the font size to be reduced by 2 steps from its previous<br />
value, where each step reduces or increases the size by approximately 12%.<br />
Let’s try it in our ossia example:<br />
\new Staff ="main" {<br />
\relative g' {<br />
r4 g8 g c4 c8 d |<br />
e4 r8<br />
