
Create successful ePaper yourself
Turn your PDF publications into a flip-book with our unique Google optimized e-Paper software.
Important point<br />
The photo need to be well-oriented<br />
(the north is up). Otherwise the georeferencing<br />
is impossible. If the photo<br />
has been not well-oriented, it needs to<br />
be turned up.<br />
4.<br />
Create the polygon<br />
of the village<br />
boundary<br />
Before zoning, the village boundaries must be set-up. The village boundaries may<br />
have been set-up by district authorities. In this case the team must be coordinated<br />
with them and have a copy of their shapefiles to start zoning from it. In the following<br />
paragraphs, the two cases are studied.<br />
In the case the boundary of the<br />
village has not been set up yet<br />
If the village boundary has not been<br />
defined yet, the limits need to be established<br />
by villagers and negotiated<br />
with neighbouring villages, on the 3D<br />
model using strings and nails (reference<br />
to the previous toolbox).<br />
How to take a 3D model photo<br />
Once the boundary negotiation is<br />
over, and everyone agrees with the<br />
boundary set-up, a photograph of the<br />
3D model is taken. An “usual” camera<br />
is enough. The 3D model is flat on a<br />
table, and the photographer should<br />
be at around 1m40 higher than the 3D<br />
model holding the camera horizontally.<br />
Someone standing in front of<br />
the photographer can check the level<br />
of the camera. The camera angle<br />
should be large enough to include the<br />
whole 3D model (not only the village<br />
area) as it will ease the georeferencing.<br />
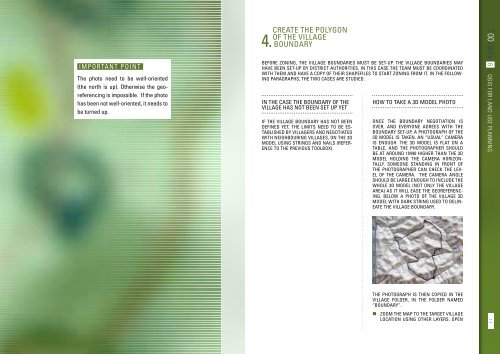
Below a photo of the village 3D<br />
model with dark string used to delineate<br />
the village boundary.<br />
TOOLBOX 6 QGIS for land use planning<br />
The photograph is then copied in the<br />
village folder, in the folder named<br />
“Boundary”.<br />
• Zoom the map to the target village<br />
location using other layers. Open<br />
71