UNIVERGE UC700 - NEC Corporation of America
UNIVERGE UC700 - NEC Corporation of America
UNIVERGE UC700 - NEC Corporation of America

You also want an ePaper? Increase the reach of your titles
YUMPU automatically turns print PDFs into web optimized ePapers that Google loves.
4-6 Configuring OW5000 to Support <strong>UC700</strong> Clients<br />
one Access Server. Refer to the OW5000 Installation Guide and the<br />
OW5000 Configuration Guide for more details.<br />
—SIPUA Group: (optional) If the Access Control feature is required,<br />
select the proper SIPUA group from the drop-down list. A SIPUA<br />
Group must be assigned from OW5000 > Platform > Access Control<br />
before Person management. Refer to the OW5000 Configuration<br />
Guide for more details. SIPUA Group configuration <strong>of</strong> the <strong>UC700</strong> is<br />
supported in the US only.<br />
NOTE<br />
SIP URI/IM URI is a Uniform Resource Identifier (URI) used by <strong>UC700</strong> user. This<br />
identifier is similar to an e-mail account, and acts similar to an e-mail account or<br />
phone number in locating the user for instant messaging traffic. This identifier must<br />
be entered in the format user@host, where user is the username <strong>of</strong> the <strong>UC700</strong> user,<br />
and host is the host name <strong>of</strong> the user’s computer where he or she receives instant<br />
messages. (Examples: Carl.Price@tropia.com, edgar@fiznet.com,<br />
servicedept@potomobile.biz). The host name can be a domain (DNS) name <strong>of</strong> the<br />
host server or its IP address.<br />
If you want to see SP350 and/or <strong>NEC</strong> SIP terminal presence, the SIP URI must be<br />
the same as the Extension SIP URI assigned in the Extension Management page.<br />
NOTE<br />
AccessServer is not case sensitive.<br />
NOTE<br />
The SIP and IM URI must be unique. It is recommended you use the following<br />
format:<br />
NOTE<br />
•Use user@sip.host.whatever for SIP URI.<br />
•Use user@im.host.whatever for IM URI.<br />
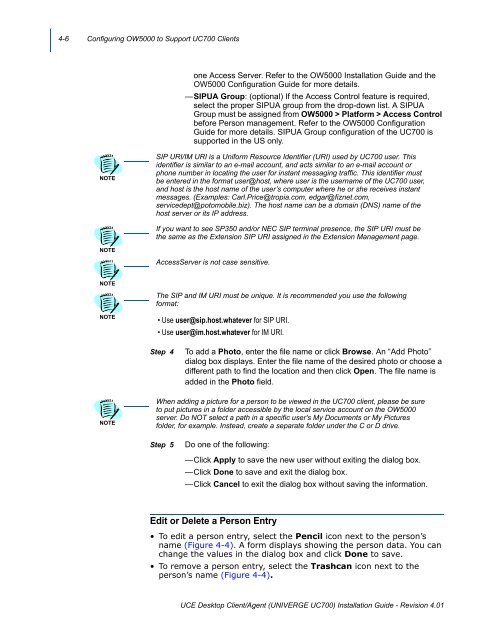
Step 4<br />
To add a Photo, enter the file name or click Browse. An “Add Photo”<br />
dialog box displays. Enter the file name <strong>of</strong> the desired photo or choose a<br />
different path to find the location and then click Open. The file name is<br />
added in the Photo field.<br />
NOTE<br />
When adding a picture for a person to be viewed in the <strong>UC700</strong> client, please be sure<br />
to put pictures in a folder accessible by the local service account on the OW5000<br />
server. Do NOT select a path in a specific user's My Documents or My Pictures<br />
folder, for example. Instead, create a separate folder under the C or D drive.<br />
Step 5<br />
Do one <strong>of</strong> the following:<br />
—Click Apply to save the new user without exiting the dialog box.<br />
—Click Done to save and exit the dialog box.<br />
—Click Cancel to exit the dialog box without saving the information.<br />
Edit or Delete a Person Entry<br />
• To edit a person entry, select the Pencil icon next to the person’s<br />
name (Figure 4-4). A form displays showing the person data. You can<br />
change the values in the dialog box and click Done to save.<br />
• To remove a person entry, select the Trashcan icon next to the<br />
person’s name (Figure 4-4).<br />
UCE Desktop Client/Agent (<strong>UNIVERGE</strong> <strong>UC700</strong>) Installation Guide - Revision 4.01