PlascoTrac User Guide
PlascoTrac User Guide
PlascoTrac User Guide
You also want an ePaper? Increase the reach of your titles
YUMPU automatically turns print PDFs into web optimized ePapers that Google loves.
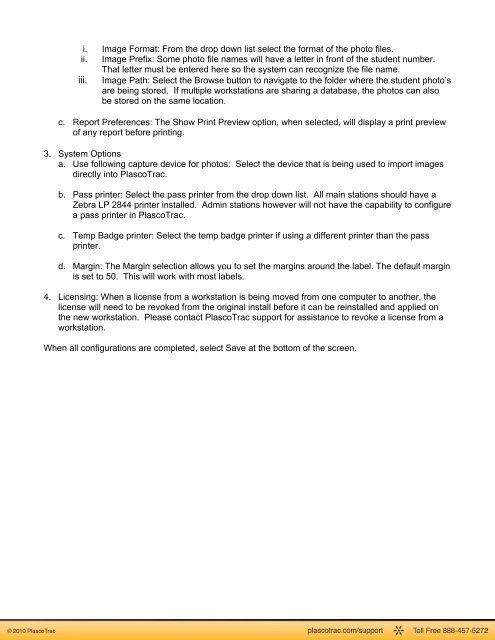
i. Image Format: From the drop down list select the format of the photo files.ii. Image Prefix: Some photo file names will have a letter in front of the student number.That letter must be entered here so the system can recognize the file name.iii. Image Path: Select the Browse button to navigate to the folder where the student photo’sare being stored. If multiple workstations are sharing a database, the photos can alsobe stored on the same location.c. Report Preferences: The Show Print Preview option, when selected, will display a print previewof any report before printing.3. System Optionsa. Use following capture device for photos: Select the device that is being used to import imagesdirectly into <strong>PlascoTrac</strong>.b. Pass printer: Select the pass printer from the drop down list. All main stations should have aZebra LP 2844 printer installed. Admin stations however will not have the capability to configurea pass printer in <strong>PlascoTrac</strong>.c. Temp Badge printer: Select the temp badge printer if using a different printer than the passprinter.d. Margin: The Margin selection allows you to set the margins around the label. The default marginis set to 50. This will work with most labels.4. Licensing: When a license from a workstation is being moved from one computer to another, thelicense will need to be revoked from the original install before it can be reinstalled and applied onthe new workstation. Please contact <strong>PlascoTrac</strong> support for assistance to revoke a license from aworkstation.When all configurations are completed, select Save at the bottom of the screen.


