Urma Digiset 5 USERMANUAL - Urma AG
Urma Digiset 5 USERMANUAL - Urma AG
Urma Digiset 5 USERMANUAL - Urma AG
You also want an ePaper? Increase the reach of your titles
YUMPU automatically turns print PDFs into web optimized ePapers that Google loves.
digiset 5<br />
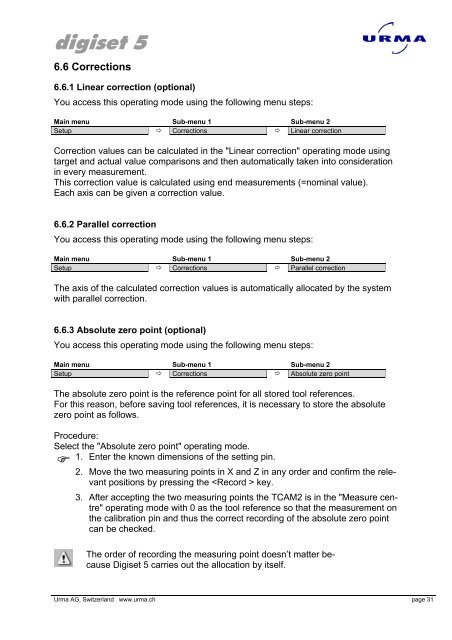
6.6 Corrections<br />
6.6.1 Linear correction (optional)<br />
You access this operating mode using the following menu steps:<br />
Main menu Sub-menu 1 Sub-menu 2<br />
Setup � Corrections � Linear correction<br />
Correction values can be calculated in the "Linear correction" operating mode using<br />
target and actual value comparisons and then automatically taken into consideration<br />
in every measurement.<br />
This correction value is calculated using end measurements (=nominal value).<br />
Each axis can be given a correction value.<br />
6.6.2 Parallel correction<br />
You access this operating mode using the following menu steps:<br />
Main menu Sub-menu 1 Sub-menu 2<br />
Setup � Corrections � Parallel correction<br />
The axis of the calculated correction values is automatically allocated by the system<br />
with parallel correction.<br />
6.6.3 Absolute zero point (optional)<br />
You access this operating mode using the following menu steps:<br />
Main menu Sub-menu 1 Sub-menu 2<br />
Setup � Corrections � Absolute zero point<br />
The absolute zero point is the reference point for all stored tool references.<br />
For this reason, before saving tool references, it is necessary to store the absolute<br />
zero point as follows.<br />
Procedure:<br />
Select the "Absolute zero point" operating mode.<br />
1. Enter the known dimensions of the setting pin.<br />
�<br />
2. Move the two measuring points in X and Z in any order and confirm the relevant<br />
positions by pressing the key.<br />
3. After accepting the two measuring points the TCAM2 is in the "Measure centre"<br />
operating mode with 0 as the tool reference so that the measurement on<br />
the calibration pin and thus the correct recording of the absolute zero point<br />
can be checked.<br />
The order of recording the measuring point doesn’t matter because<br />
<strong>Digiset</strong> 5 carries out the allocation by itself.<br />
<strong>Urma</strong> <strong>AG</strong>, Switzerland www.urma.ch page 31


