Create successful ePaper yourself
Turn your PDF publications into a flip-book with our unique Google optimized e-Paper software.
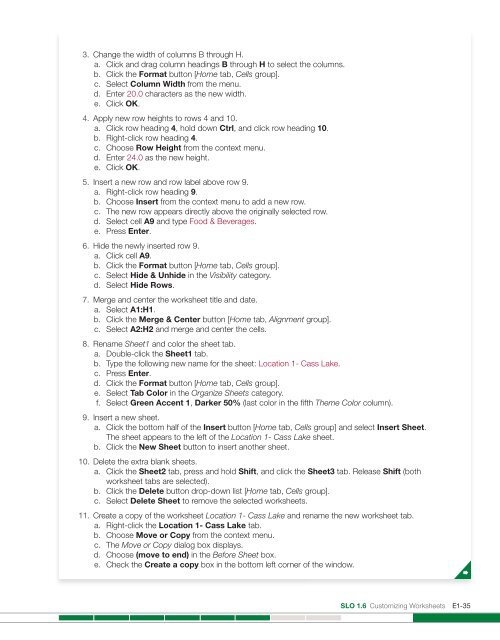
3. Change the width of columns B through H.<br />
a. Click and drag column headings B through H to select the columns.<br />
b. Click the Format button [Home tab, Cells group].<br />
c. Select Column Width from the menu.<br />
d. Enter 20.0 characters as the new width.<br />
e. Click OK.<br />
4. Apply new row heights to rows 4 and 10.<br />
a. Click row heading 4, hold down Ctrl, and click row heading 10.<br />
b. Right-click row heading 4.<br />
c. Choose Row Height from the context menu.<br />
d. Enter 24.0 as the new height.<br />
e. Click OK.<br />
5. Insert a new row and row label above row 9.<br />
a. Right-click row heading 9.<br />
b. Choose Insert from the context menu to add a new row.<br />
c. The new row appears directly above the originally selected row.<br />
d. Select cell A9 and type Food & Beverages.<br />
e. Press Enter.<br />
6. Hide the newly inserted row 9.<br />
a. Click cell A9.<br />
b. Click the Format button [Home tab, Cells group].<br />
c. Select Hide & Unhide in the Visibility category.<br />
d. Select Hide Rows.<br />
7. Merge and center the worksheet title and date.<br />
a. Select A1:H1.<br />
b. Click the Merge & Center button [Home tab, Alignment group].<br />
c. Select A2:H2 and merge and center the cells.<br />
8. Rename Sheet1 and color the sheet tab.<br />
a. Double-click the Sheet1 tab.<br />
b. Type the following new name for the sheet: Location 1- Cass Lake.<br />
c. Press Enter.<br />
d. Click the Format button [Home tab, Cells group].<br />
e. Select Tab Color in the Organize Sheets category.<br />
f. Select Green Accent 1, Darker 50% (last color in the fifth Theme Color column).<br />
9. Insert a new sheet.<br />
a. Click the bottom half of the Insert button [Home tab, Cells group] and select Insert Sheet.<br />
The sheet appears to the left of the Location 1- Cass Lake sheet.<br />
b. Click the New Sheet button to insert another sheet.<br />
10. Delete the extra blank sheets.<br />
a. Click the Sheet2 tab, press and hold Shift, and click the Sheet3 tab. Release Shift (both<br />
worksheet tabs are selected).<br />
b. Click the Delete button drop-down list [Home tab, Cells group].<br />
c. Select Delete Sheet to remove the selected worksheets.<br />
11. Create a copy of the worksheet Location 1- Cass Lake and rename the new worksheet tab.<br />
a. Right-click the Location 1- Cass Lake tab.<br />
b. Choose Move or Copy from the context menu.<br />
c. The Move or Copy dialog box displays.<br />
d. Choose (move to end) in the Before Sheet box.<br />
e. Check the Create a copy box in the bottom left corner of the window.<br />
SLO 1.6 Customizing Worksheets E1-35


