On-Board® W Module Programming and Operation ... - PTB Sales
On-Board® W Module Programming and Operation ... - PTB Sales
On-Board® W Module Programming and Operation ... - PTB Sales

You also want an ePaper? Increase the reach of your titles
YUMPU automatically turns print PDFs into web optimized ePapers that Google loves.
<strong>On</strong>-Board W <strong>Module</strong> <strong>Programming</strong> <strong>and</strong> <strong>Operation</strong><br />
CTI-CRYOGENICS<br />
HELIX TECHNOLOGY CORPORATION<br />
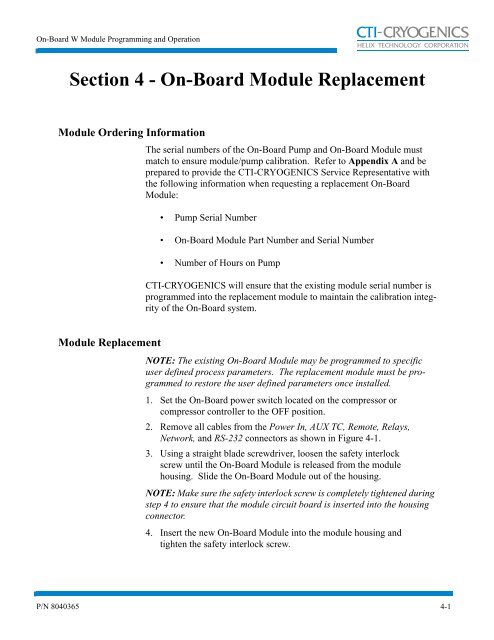
Section 4 - <strong>On</strong>-Board <strong>Module</strong> Replacement<br />
<strong>Module</strong> Ordering Information<br />
The serial numbers of the <strong>On</strong>-Board Pump <strong>and</strong> <strong>On</strong>-Board <strong>Module</strong> must<br />
match to ensure module/pump calibration. Refer to Appendix A <strong>and</strong> be<br />
prepared to provide the CTI-CRYOGENICS Service Representative with<br />
the following information when requesting a replacement <strong>On</strong>-Board<br />
<strong>Module</strong>:<br />
• Pump Serial Number<br />
• <strong>On</strong>-Board <strong>Module</strong> Part Number <strong>and</strong> Serial Number<br />
• Number of Hours on Pump<br />
CTI-CRYOGENICS will ensure that the existing module serial number is<br />
programmed into the replacement module to maintain the calibration integrity<br />
of the <strong>On</strong>-Board system.<br />
<strong>Module</strong> Replacement<br />
NOTE: The existing <strong>On</strong>-Board <strong>Module</strong> may be programmed to specific<br />
user defined process parameters. The replacement module must be programmed<br />
to restore the user defined parameters once installed.<br />
1. Set the <strong>On</strong>-Board power switch located on the compressor or<br />
compressor controller to the OFF position.<br />
2. Remove all cables from the Power In, AUX TC, Remote, Relays,<br />
Network, <strong>and</strong> RS-232 connectors as shown in Figure 4-1.<br />
3. Using a straight blade screwdriver, loosen the safety interlock<br />
screw until the <strong>On</strong>-Board <strong>Module</strong> is released from the module<br />
housing. Slide the <strong>On</strong>-Board <strong>Module</strong> out of the housing.<br />
NOTE: Make sure the safety interlock screw is completely tightened during<br />
step 4 to ensure that the module circuit board is inserted into the housing<br />
connector.<br />
4. Insert the new <strong>On</strong>-Board <strong>Module</strong> into the module housing <strong>and</strong><br />
tighten the safety interlock screw.<br />
P/N 8040365 4-1