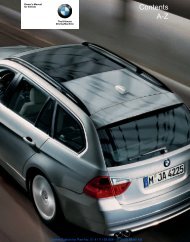
Online Edition for Part no. 01 41 2 604 027 - © 03/10 BMW AG
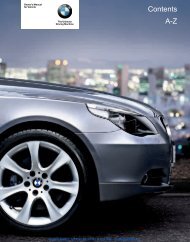
Online Edition for Part no. 01 41 2 604 027 - © 03/10 BMW AG
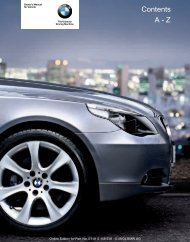
Online Edition for Part no. 01 41 2 604 027 - © 03/10 BMW AG

Create successful ePaper yourself
Turn your PDF publications into a flip-book with our unique Google optimized e-Paper software.
Practical interior accessories<br />
1. Insert the brackets at the respective <strong>no</strong>tch<br />
in the rail on the cargo area floor.<br />
2. Press down the brackets to push them into<br />
the desired position.<br />
3. Check the firm seating of the brackets.<br />
They must be clearly heard to engage.<br />
Do <strong>no</strong>t lay cargo on the brackets, as otherwise<br />
they could be unlocked.<<br />
Dividing up cargo area<br />
You can position the cargo as follows:<br />
> Between the rear seat backrest and the<br />
telescopic rail<br />
> Between the telescopic rail and the retaining<br />
strap<br />
Positioning cargo between telescopic rail and<br />
retaining strap:<br />
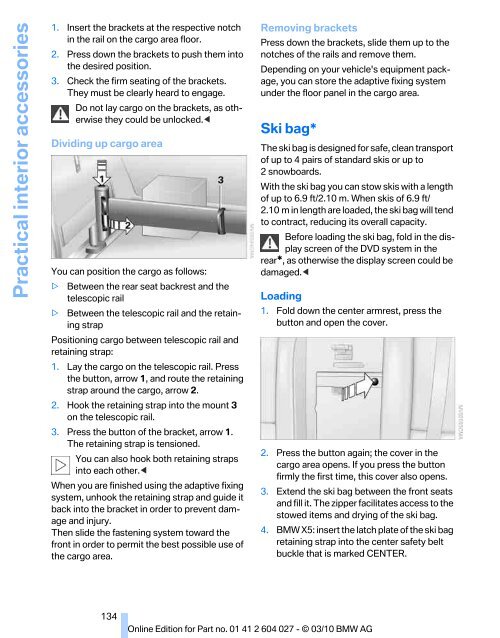
1. Lay the cargo on the telescopic rail. Press<br />
the button, arrow 1, and route the retaining<br />
strap around the cargo, arrow 2.<br />
2. Hook the retaining strap into the mount 3<br />
on the telescopic rail.<br />
3. Press the button of the bracket, arrow 1.<br />
The retaining strap is tensioned.<br />
You can also hook both retaining straps<br />
into each other.<<br />
When you are finished using the adaptive fixing<br />
system, unhook the retaining strap and guide it<br />
back into the bracket in order to prevent damage<br />
and injury.<br />
Then slide the fastening system toward the<br />
front in order to permit the best possible use of<br />
the cargo area.<br />
Removing brackets<br />
Press down the brackets, slide them up to the<br />
<strong>no</strong>tches of the rails and remove them.<br />
Depending on your vehicle's equipment package,<br />
you can store the adaptive fixing system<br />
under the floor panel in the cargo area.<br />
Ski bag*<br />
The ski bag is designed <strong>for</strong> safe, clean transport<br />
of up to 4 pairs of standard skis or up to<br />
2s<strong>no</strong>wboards.<br />
With the ski bag you can stow skis with a length<br />
of up to 6.9 ft/2.<strong>10</strong> m. When skis of 6.9 ft/<br />
2.<strong>10</strong> m in length are loaded, the ski bag will tend<br />
to contract, reducing its overall capacity.<br />
Be<strong>for</strong>e loading the ski bag, fold in the display<br />
screen of the DVD system in the<br />
rear*, as otherwise the display screen could be<br />
damaged.<<br />
Loading<br />
1. Fold down the center armrest, press the<br />
button and open the cover.<br />
2. Press the button again; the cover in the<br />
cargo area opens. If you press the button<br />
firmly the first time, this cover also opens.<br />
3. Extend the ski bag between the front seats<br />
and fill it. The zipper facilitates access to the<br />
stowed items and drying of the ski bag.<br />
4. <strong>BMW</strong> X5: insert the latch plate of the ski bag<br />
retaining strap into the center safety belt<br />
buckle that is marked CENTER.<br />
134