FortiGate IPSec VPN User Guide - FirewallShop.com
FortiGate IPSec VPN User Guide - FirewallShop.com
FortiGate IPSec VPN User Guide - FirewallShop.com

You also want an ePaper? Increase the reach of your titles
YUMPU automatically turns print PDFs into web optimized ePapers that Google loves.
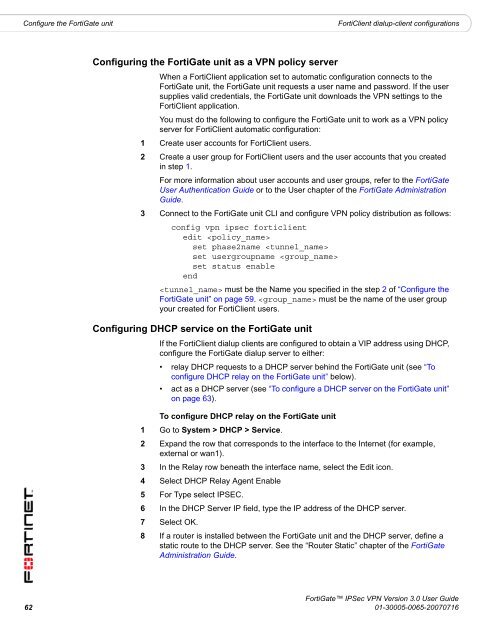
Configure the <strong>FortiGate</strong> unit<br />
FortiClient dialup-client configurations<br />
Configuring the <strong>FortiGate</strong> unit as a <strong>VPN</strong> policy server<br />
When a FortiClient application set to automatic configuration connects to the<br />
<strong>FortiGate</strong> unit, the <strong>FortiGate</strong> unit requests a user name and password. If the user<br />
supplies valid credentials, the <strong>FortiGate</strong> unit downloads the <strong>VPN</strong> settings to the<br />
FortiClient application.<br />
You must do the following to configure the <strong>FortiGate</strong> unit to work as a <strong>VPN</strong> policy<br />
server for FortiClient automatic configuration:<br />
1 Create user accounts for FortiClient users.<br />
2 Create a user group for FortiClient users and the user accounts that you created<br />
in step 1.<br />
For more information about user accounts and user groups, refer to the <strong>FortiGate</strong><br />
<strong>User</strong> Authentication <strong>Guide</strong> or to the <strong>User</strong> chapter of the <strong>FortiGate</strong> Administration<br />
<strong>Guide</strong>.<br />
3 Connect to the <strong>FortiGate</strong> unit CLI and configure <strong>VPN</strong> policy distribution as follows:<br />
config vpn ipsec forticlient<br />
edit <br />
set phase2name <br />
set usergroupname <br />
set status enable<br />
end<br />
must be the Name you specified in the step 2 of “Configure the<br />
<strong>FortiGate</strong> unit” on page 59. must be the name of the user group<br />
your created for FortiClient users.<br />
Configuring DHCP service on the <strong>FortiGate</strong> unit<br />
If the FortiClient dialup clients are configured to obtain a VIP address using DHCP,<br />
configure the <strong>FortiGate</strong> dialup server to either:<br />
• relay DHCP requests to a DHCP server behind the <strong>FortiGate</strong> unit (see “To<br />
configure DHCP relay on the <strong>FortiGate</strong> unit” below).<br />
• act as a DHCP server (see “To configure a DHCP server on the <strong>FortiGate</strong> unit”<br />
on page 63).<br />
To configure DHCP relay on the <strong>FortiGate</strong> unit<br />
1 Go to System > DHCP > Service.<br />
2 Expand the row that corresponds to the interface to the Internet (for example,<br />
external or wan1).<br />
3 In the Relay row beneath the interface name, select the Edit icon.<br />
4 Select DHCP Relay Agent Enable<br />
5 For Type select IPSEC.<br />
6 In the DHCP Server IP field, type the IP address of the DHCP server.<br />
7 Select OK.<br />
8 If a router is installed between the <strong>FortiGate</strong> unit and the DHCP server, define a<br />
static route to the DHCP server. See the “Router Static” chapter of the <strong>FortiGate</strong><br />
Administration <strong>Guide</strong>.<br />
<strong>FortiGate</strong> <strong>IPSec</strong> <strong>VPN</strong> Version 3.0 <strong>User</strong> <strong>Guide</strong><br />
62 01-30005-0065-20070716