Welcome to Sonic DVD Creator - Audio Intervisual Design, Inc.
Welcome to Sonic DVD Creator - Audio Intervisual Design, Inc.
Welcome to Sonic DVD Creator - Audio Intervisual Design, Inc.
- No tags were found...

You also want an ePaper? Increase the reach of your titles
YUMPU automatically turns print PDFs into web optimized ePapers that Google loves.
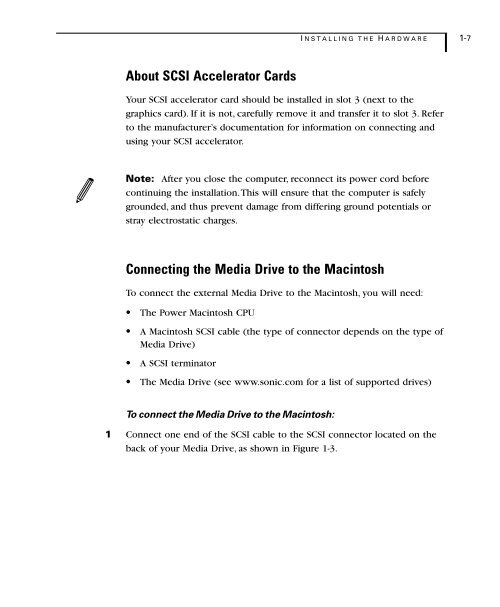
I NSTALLING T HE H ARDWARE 1-7About SCSI Accelera<strong>to</strong>r CardsYour SCSI accelera<strong>to</strong>r card should be installed in slot 3 (next <strong>to</strong> thegraphics card). If it is not, carefully remove it and transfer it <strong>to</strong> slot 3. Refer<strong>to</strong> the manufacturer’s documentation for information on connecting andusing your SCSI accelera<strong>to</strong>r.Note: After you close the computer, reconnect its power cord beforecontinuing the installation. This will ensure that the computer is safelygrounded, and thus prevent damage from differing ground potentials orstray electrostatic charges.Connecting the Media Drive <strong>to</strong> the Macin<strong>to</strong>shTo connect the external Media Drive <strong>to</strong> the Macin<strong>to</strong>sh, you will need:• The Power Macin<strong>to</strong>sh CPU• A Macin<strong>to</strong>sh SCSI cable (the type of connec<strong>to</strong>r depends on the type ofMedia Drive)• A SCSI termina<strong>to</strong>r• The Media Drive (see www.sonic.com for a list of supported drives)To connect the Media Drive <strong>to</strong> the Macin<strong>to</strong>sh:1 Connect one end of the SCSI cable <strong>to</strong> the SCSI connec<strong>to</strong>r located on theback of your Media Drive, as shown in Figure 1-3.