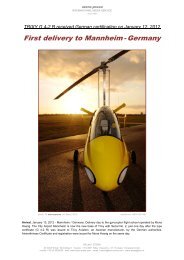
Flight and Operation Manual Rev 3.0 on 09-04-2013 - Trixy Aviation
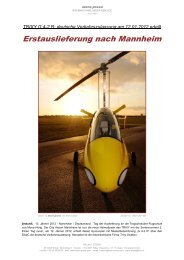
Flight and Operation Manual Rev 3.0 on 09-04-2013 - Trixy Aviation
Flight and Operation Manual Rev 3.0 on 09-04-2013 - Trixy Aviation

You also want an ePaper? Increase the reach of your titles
YUMPU automatically turns print PDFs into web optimized ePapers that Google loves.
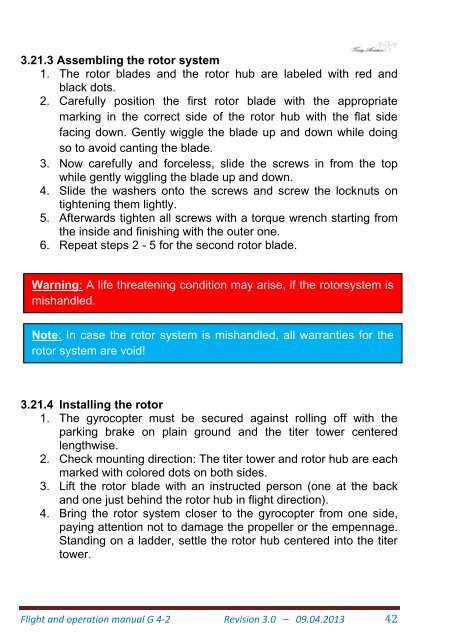
3.21.3 Assembling the rotor system1. The rotor blades <str<strong>on</strong>g>and</str<strong>on</strong>g> the rotor hub are labeled with red <str<strong>on</strong>g>and</str<strong>on</strong>g>black dots.2. Carefully positi<strong>on</strong> the first rotor blade with the appropriatemarking in the correct side of the rotor hub with the flat sidefacing down. Gently wiggle the blade up <str<strong>on</strong>g>and</str<strong>on</strong>g> down while doingso to avoid canting the blade.3. Now carefully <str<strong>on</strong>g>and</str<strong>on</strong>g> forceless, slide the screws in from the topwhile gently wiggling the blade up <str<strong>on</strong>g>and</str<strong>on</strong>g> down.4. Slide the washers <strong>on</strong>to the screws <str<strong>on</strong>g>and</str<strong>on</strong>g> screw the locknuts <strong>on</strong>tightening them lightly.5. Afterwards tighten all screws with a torque wrench starting fromthe inside <str<strong>on</strong>g>and</str<strong>on</strong>g> finishing with the outer <strong>on</strong>e.6. Repeat steps 2 - 5 for the sec<strong>on</strong>d rotor blade.Warning: A life threatening c<strong>on</strong>diti<strong>on</strong> may arise, if the rotorsystem ismish<str<strong>on</strong>g>and</str<strong>on</strong>g>led.Note: In case the rotor system is mish<str<strong>on</strong>g>and</str<strong>on</strong>g>led, all warranties for therotor system are void!3.21.4 Installing the rotor1. The gyrocopter must be secured against rolling off with theparking brake <strong>on</strong> plain ground <str<strong>on</strong>g>and</str<strong>on</strong>g> the titer tower centeredlengthwise.2. Check mounting directi<strong>on</strong>: The titer tower <str<strong>on</strong>g>and</str<strong>on</strong>g> rotor hub are eachmarked with colored dots <strong>on</strong> both sides.3. Lift the rotor blade with an instructed pers<strong>on</strong> (<strong>on</strong>e at the back<str<strong>on</strong>g>and</str<strong>on</strong>g> <strong>on</strong>e just behind the rotor hub in flight directi<strong>on</strong>).4. Bring the rotor system closer to the gyrocopter from <strong>on</strong>e side,paying attenti<strong>on</strong> not to damage the propeller or the empennage.St<str<strong>on</strong>g>and</str<strong>on</strong>g>ing <strong>on</strong> a ladder, settle the rotor hub centered into the titertower.<str<strong>on</strong>g>Flight</str<strong>on</strong>g> <str<strong>on</strong>g>and</str<strong>on</strong>g> operati<strong>on</strong> manual G 4-2 <str<strong>on</strong>g>Rev</str<strong>on</strong>g>isi<strong>on</strong> <str<strong>on</strong>g>3.0</str<strong>on</strong>g> – <strong>09</strong>.<strong>04</strong>.<strong>2013</strong> 42