testing
This is just a test
This is just a test
- No tags were found...

Create successful ePaper yourself
Turn your PDF publications into a flip-book with our unique Google optimized e-Paper software.
▍<br />
Intel SATA RAID<br />
RAID Migration Instructions<br />
The Intel Matrix Storage Console offers the flexibility to upgrade from a single Serial<br />
ATA (SATA) hard drive to RAID configuration when an additional SATA hard drive is<br />
added to the system. This process will create a new RAID volume from an existing<br />
disk. However, several important steps must be followed at the time the system is first<br />
configured in order to take advantage of RAID when upgrading to a second SATA hard<br />
drive:<br />
1. BIOS must be configured for RAID before installing Windows on the single SATA<br />
hard drive. Refer to “BIOS section” properly setting.<br />
2. Install the Intel Application Accelerator RAID Driver during Windows Setup. Refer to<br />
“Installing Software” for instructions on installing the driver during Windows Setup.<br />
3. Install the Intel Matrix Storage Console after the operating system is installed.<br />
To create a volume from an existing disk, complete the following steps:<br />
Important<br />
A “Create from Existing Disk” operation will delete all existing data from the added disk<br />
and the data cannot be recovered. It is critical to backup all important data on the added<br />
disk before proceeding. However, during the migration process, the data on the source<br />
disk is preserved.<br />
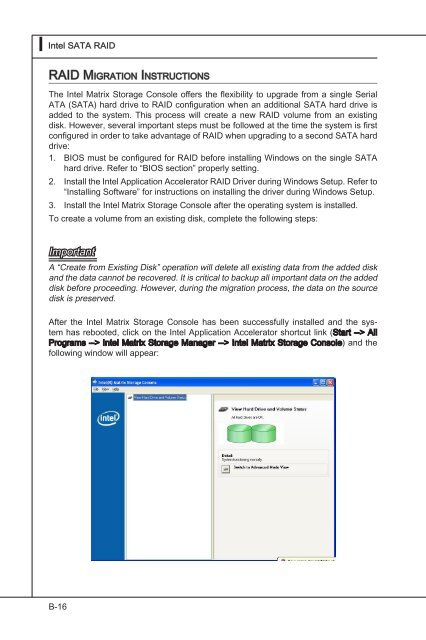
After the Intel Matrix Storage Console has been successfully installed and the system<br />
has rebooted, click on the Intel Application Accelerator shortcut link (Start --> All<br />
Programs --> Intel Matrix Storage Manager --> Intel Matrix Storage Console) and the<br />
following window will appear:<br />
B-16