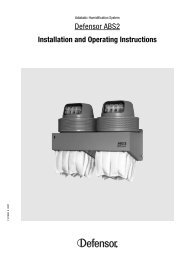
Defensor Mk5 Technical Documentation
Defensor Mk5 Technical Documentation
Defensor Mk5 Technical Documentation

Create successful ePaper yourself
Turn your PDF publications into a flip-book with our unique Google optimized e-Paper software.
38<br />
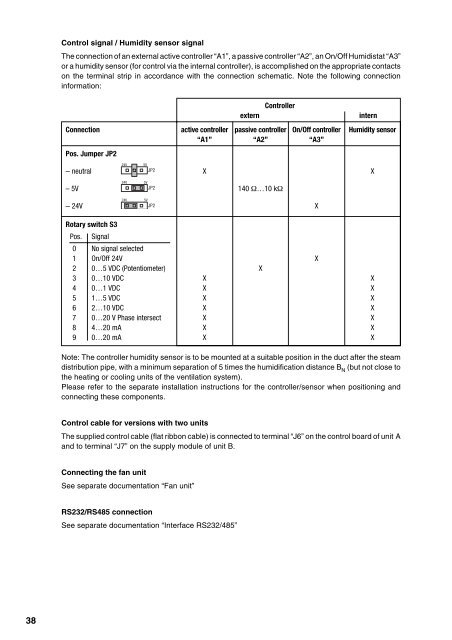
Control signal / Humidity sensor signal<br />
The connection of an external active controller “A1”, a passive controller “A2”, an On/Off Humidistat “A3”<br />
or a humidity sensor (for control via the internal controller), is accomplished on the appropriate contacts<br />
on the terminal strip in accordance with the connection schematic. Note the following connection<br />
information:<br />
Controller<br />
extern intern<br />
Connection active controller passive controller On/Off controller Humidity sensor<br />
“A1” “A2” “A3”<br />
Pos. Jumper JP2<br />
24V 5V<br />
– neutral JP2<br />
X X<br />
24V 5V<br />
– 5V JP2<br />
140 Ω…10 kΩ<br />
24V 5V<br />
– 24V JP2<br />
X<br />
Rotary switch S3<br />
Pos. Signal<br />
0 No signal selected<br />
1 On/Off 24V X<br />
2 0…5 VDC (Potentiometer) X<br />
3 0…10 VDC X X<br />
4 0…1 VDC X X<br />
5 1…5 VDC X X<br />
6 2…10 VDC X X<br />
7 0…20 V Phase intersect X X<br />
8 4…20 mA X X<br />
9 0…20 mA X X<br />
Note: The controller humidity sensor is to be mounted at a suitable position in the duct after the steam<br />
distribution pipe, with a minimum separation of 5 times the humidification distance B N (but not close to<br />
the heating or cooling units of the ventilation system).<br />
Please refer to the separate installation instructions for the controller/sensor when positioning and<br />
connecting these components.<br />
Control cable for versions with two units<br />
The supplied control cable (flat ribbon cable) is connected to terminal “J6” on the control board of unit A<br />
and to terminal “J7” on the supply module of unit B.<br />
Connecting the fan unit<br />
See separate documentation “Fan unit”<br />
RS232/RS485 connection<br />
See separate documentation “Interface RS232/485”