Mac Integration Basics v10.7 - Apple
Mac Integration Basics v10.7 - Apple
Mac Integration Basics v10.7 - Apple
You also want an ePaper? Increase the reach of your titles
YUMPU automatically turns print PDFs into web optimized ePapers that Google loves.
14<br />
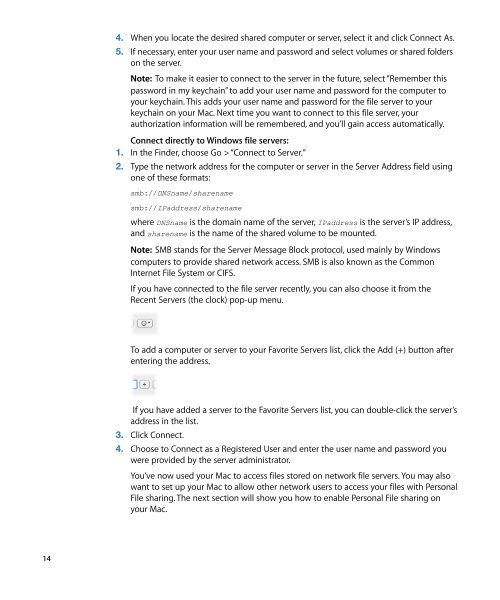
4. When you locate the desired shared computer or server, select it and click Connect As.<br />
5. If necessary, enter your user name and password and select volumes or shared folders<br />
on the server.<br />
Note: To make it easier to connect to the server in the future, select “Remember this<br />
password in my keychain” to add your user name and password for the computer to<br />
your keychain. This adds your user name and password for the file server to your<br />
keychain on your <strong>Mac</strong>. Next time you want to connect to this file server, your<br />
authorization information will be remembered, and you’ll gain access automatically.<br />
Connect directly to Windows file servers:<br />
1. In the Finder, choose Go > “Connect to Server.”<br />
2. Type the network address for the computer or server in the Server Address field using<br />
one of these formats:<br />
smb://DNSname/sharename<br />
smb://IPaddress/sharename<br />
where DNSname is the domain name of the server, IPaddress is the server’s IP address,<br />
and sharename is the name of the shared volume to be mounted.<br />
Note: SMB stands for the Server Message Block protocol, used mainly by Windows<br />
computers to provide shared network access. SMB is also known as the Common<br />
Internet File System or CIFS.<br />
If you have connected to the file server recently, you can also choose it from the<br />
Recent Servers (the clock) pop-up menu.<br />
To add a computer or server to your Favorite Servers list, click the Add (+) button after<br />
entering the address.<br />
If you have added a server to the Favorite Servers list, you can double-click the server’s<br />
address in the list.<br />
3. Click Connect.<br />
4. Choose to Connect as a Registered User and enter the user name and password you<br />
were provided by the server administrator.<br />
You’ve now used your <strong>Mac</strong> to access files stored on network file servers. You may also<br />
want to set up your <strong>Mac</strong> to allow other network users to access your files with Personal<br />
File sharing. The next section will show you how to enable Personal File sharing on<br />
your <strong>Mac</strong>.


