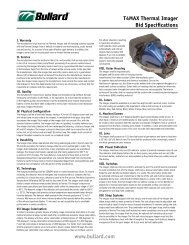
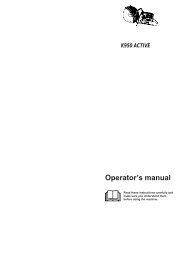
WM, Workshop Manual, K650, K700, K950, K1250, 2001-06, Power ...
WM, Workshop Manual, K650, K700, K950, K1250, 2001-06, Power ...
WM, Workshop Manual, K650, K700, K950, K1250, 2001-06, Power ...

Create successful ePaper yourself
Turn your PDF publications into a flip-book with our unique Google optimized e-Paper software.
Crankshaft and crankcase<br />
6<br />
Remove all screws which hold the crankcase<br />
halves together.<br />
Remove all screws (9 items) which hold<br />
the two crankcase halves together.<br />
Separate and assemble the crankcase<br />
halves in the same way as described for<br />
mod. 650, 700.<br />
Separate and assemble the crankcase<br />
halves in the same way as described for<br />
mod. 650, 700.<br />
Inspect the crankshaft (see chapter<br />
”Inspection of the crankshaft”).<br />
NOTE!<br />
The tool 502 51 61-01 cannot be used on<br />
the flywheel side. Heat instead the<br />
crankcase half with a hot air gun to approx.<br />
110°C, and press off the crankshaft.<br />
Use tool 502 50 30-08 to assemble.<br />
502 51 61-01<br />
502 50 30-08<br />
Inspection of crankshaft<br />
Check the connecting rod’s big end.<br />
Inspection of crankshaft<br />
The crankshaft cannot be renovated and<br />
must be replaced by a new one if it is worn<br />
or damaged.<br />
Check the connecting rod’s big end. If<br />
seizure marks or discolouring in the<br />
bearing race are discovered then the<br />
crankshaft should be replaced.<br />
Check the connecting rod’s small end.<br />
Check the connecting rod’s small end.<br />
If seizure marks or discolouring in the<br />
bearing race are discovered then the<br />
crankshaft should be replaced.<br />
71