PT-600 Mechanized Plasma Cutting Torch
PT-600 Mechanized Plasma Cutting Torch
PT-600 Mechanized Plasma Cutting Torch

Create successful ePaper yourself
Turn your PDF publications into a flip-book with our unique Google optimized e-Paper software.
SECTION 3<br />
INSTALLATION<br />
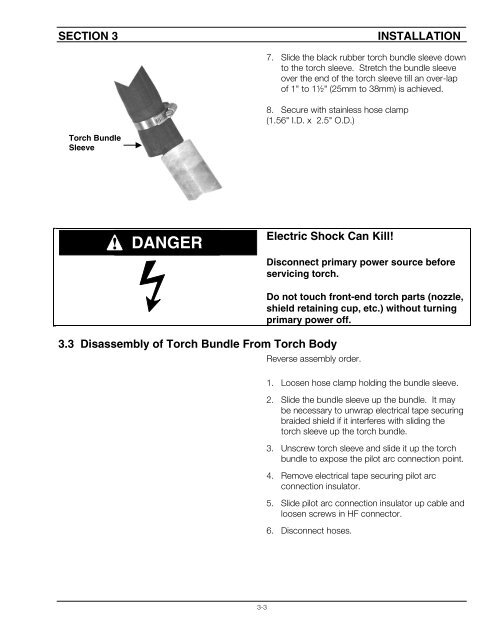
7. Slide the black rubber torch bundle sleeve down<br />
to the torch sleeve. Stretch the bundle sleeve<br />
over the end of the torch sleeve till an over-lap<br />
of 1" to 1½" (25mm to 38mm) is achieved.<br />
8. Secure with stainless hose clamp<br />
(1.56" I.D. x 2.5" O.D.)<br />
<strong>Torch</strong> Bundle<br />
Sleeve<br />
!<br />
DANGER<br />
Electric Shock Can Kill!<br />
Disconnect primary power source before<br />
servicing torch.<br />
Do not touch front-end torch parts (nozzle,<br />
shield retaining cup, etc.) without turning<br />
primary power off.<br />
3.3 Disassembly of <strong>Torch</strong> Bundle From <strong>Torch</strong> Body<br />
Reverse assembly order.<br />
1. Loosen hose clamp holding the bundle sleeve.<br />
2. Slide the bundle sleeve up the bundle. It may<br />
be necessary to unwrap electrical tape securing<br />
braided shield if it interferes with sliding the<br />
torch sleeve up the torch bundle.<br />
3. Unscrew torch sleeve and slide it up the torch<br />
bundle to expose the pilot arc connection point.<br />
4. Remove electrical tape securing pilot arc<br />
connection insulator.<br />
5. Slide pilot arc connection insulator up cable and<br />
loosen screws in HF connector.<br />
6. Disconnect hoses.<br />
3-3