General Information on Track Circuits - RGS Online
General Information on Track Circuits - RGS Online
General Information on Track Circuits - RGS Online

Create successful ePaper yourself
Turn your PDF publications into a flip-book with our unique Google optimized e-Paper software.
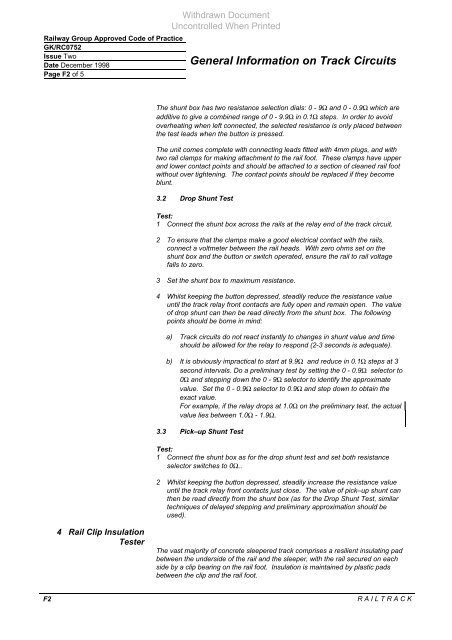
Railway Group Approved Code of Practice<br />
GK/RC0752<br />
Issue Two<br />
Date December 1998<br />
Page F2 of 5<br />
4 Rail Clip Insulati<strong>on</strong><br />
Tester<br />
Withdrawn Document<br />
Unc<strong>on</strong>trolled When Printed<br />
<str<strong>on</strong>g>General</str<strong>on</strong>g> <str<strong>on</strong>g>Informati<strong>on</strong></str<strong>on</strong>g> <strong>on</strong> <strong>Track</strong> <strong>Circuits</strong><br />
The shunt box has two resistance selecti<strong>on</strong> dials: 0 - 9Ω and 0 - 0.9Ω which are<br />
additive to give a combined range of 0 - 9.9Ω in 0.1Ω steps. In order to avoid<br />
overheating when left c<strong>on</strong>nected, the selected resistance is <strong>on</strong>ly placed between<br />
the test leads when the butt<strong>on</strong> is pressed.<br />
The unit comes complete with c<strong>on</strong>necting leads fitted with 4mm plugs, and with<br />
two rail clamps for making attachment to the rail foot. These clamps have upper<br />
and lower c<strong>on</strong>tact points and should be attached to a secti<strong>on</strong> of cleaned rail foot<br />
without over tightening. The c<strong>on</strong>tact points should be replaced if they become<br />
blunt.<br />
3.2 Drop Shunt Test<br />
Test:<br />
1 C<strong>on</strong>nect the shunt box across the rails at the relay end of the track circuit.<br />
2 To ensure that the clamps make a good electrical c<strong>on</strong>tact with the rails,<br />
c<strong>on</strong>nect a voltmeter between the rail heads. With zero ohms set <strong>on</strong> the<br />
shunt box and the butt<strong>on</strong> or switch operated, ensure the rail to rail voltage<br />
falls to zero.<br />
3 Set the shunt box to maximum resistance.<br />
4 Whilst keeping the butt<strong>on</strong> depressed, steadily reduce the resistance value<br />
until the track relay fr<strong>on</strong>t c<strong>on</strong>tacts are fully open and remain open. The value<br />
of drop shunt can then be read directly from the shunt box. The following<br />
points should be borne in mind:<br />
a) <strong>Track</strong> circuits do not react instantly to changes in shunt value and time<br />
should be allowed for the relay to resp<strong>on</strong>d (2-3 sec<strong>on</strong>ds is adequate).<br />
b) It is obviously impractical to start at 9.9Ω and reduce in 0.1Ω steps at 3<br />
sec<strong>on</strong>d intervals. Do a preliminary test by setting the 0 - 0.9Ω selector to<br />
0Ω and stepping down the 0 - 9Ω selector to identify the approximate<br />
value. Set the 0 - 0.9Ω selector to 0.9Ω and step down to obtain the<br />
exact value.<br />
For example, if the relay drops at 1.0Ω <strong>on</strong> the preliminary test, the actual<br />
value lies between 1.0Ω - 1.9Ω.<br />
3.3 Pick–up Shunt Test<br />
Test:<br />
1 C<strong>on</strong>nect the shunt box as for the drop shunt test and set both resistance<br />
selector switches to 0Ω..<br />
2 Whilst keeping the butt<strong>on</strong> depressed, steadily increase the resistance value<br />
until the track relay fr<strong>on</strong>t c<strong>on</strong>tacts just close. The value of pick–up shunt can<br />
then be read directly from the shunt box (as for the Drop Shunt Test, similar<br />
techniques of delayed stepping and preliminary approximati<strong>on</strong> should be<br />
used).<br />
The vast majority of c<strong>on</strong>crete sleepered track comprises a resilient insulating pad<br />
between the underside of the rail and the sleeper, with the rail secured <strong>on</strong> each<br />
side by a clip bearing <strong>on</strong> the rail foot. Insulati<strong>on</strong> is maintained by plastic pads<br />
between the clip and the rail foot.<br />
F2 R A I L T R A C K