

Digital Video Recorder, H.264 Models: DMR-5008/500 (8-Channel ...
Digital Video Recorder, H.264 Models: DMR-5008/500 (8-Channel ...
Digital Video Recorder, H.264 Models: DMR-5008/500 (8-Channel ...

Create successful ePaper yourself
Turn your PDF publications into a flip-book with our unique Google optimized e-Paper software.
12<br />
User’s Manual<br />
Turning on the Power<br />
Connecting the power cord to the DVR turns on the unit. The unit takes approximately 60 seconds to initialize.<br />
Initial Unit Setup<br />
Before using your DVR for the first time, you will want to establish the initial settings. This includes items such as<br />
time and date, display language, camera, remote control, record mode, network and password. Your DVR can be set<br />
up using various screens and dialog boxes.<br />
Throughout the screens you will see . Highlighting the and pressing the button gives you the opportunity to<br />
reset that screen to its default settings. After you are finished with any setup screen, you can highlight Save and press<br />
the button to save the changes and exit the screen. If you do not wish to save the changes, highlight Cancel and<br />
press the button to exit the screen.<br />
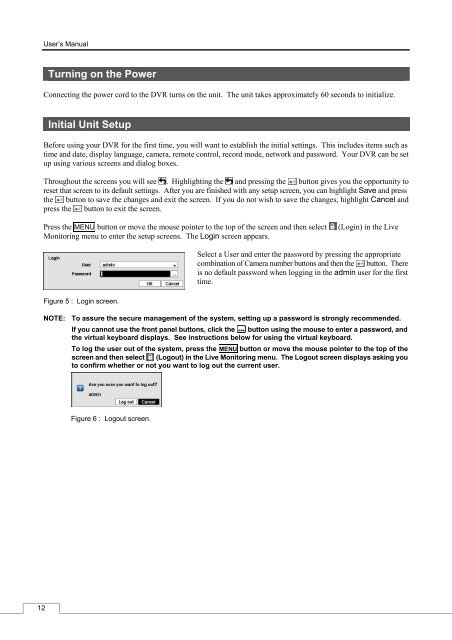
Press the MENU button or move the mouse pointer to the top of the screen and then select (Login) in the Live<br />
Monitoring menu to enter the setup screens. The Login screen appears.<br />
Figure 5 : Login screen.<br />
Select a User and enter the password by pressing the appropriate<br />
combination of Camera number buttons and then the button. There<br />
is no default password when logging in the admin user for the first<br />
time.<br />
NOTE: To assure the secure management of the system, setting up a password is strongly recommended.<br />
If you cannot use the front panel buttons, click the button using the mouse to enter a password, and<br />
the virtual keyboard displays. See instructions below for using the virtual keyboard.<br />
To log the user out of the system, press the MENU button or move the mouse pointer to the top of the<br />
screen and then select (Logout) in the Live Monitoring menu. The Logout screen displays asking you<br />
to confirm whether or not you want to log out the current user.<br />
Figure 6 : Logout screen.


