Boxoffice-October.01.1955

Create successful ePaper yourself
Turn your PDF publications into a flip-book with our unique Google optimized e-Paper software.
stamped erivelovf is sent with your request.<br />
(Bulletins on the Intermittent onlyi.<br />
How to Remove and Replace the Intermittent<br />
Sprocket Pad Assembly— Loosen<br />
the set screw holding the complete nssembly.<br />
The assembly can now be pulled out.<br />
Next, rotate the assembly when removlnp<br />
to clear the sprocket teeth. To replace<br />
this assembly on the movement, push the<br />
arm iFig. 3, No. 8i into its holdinR hole<br />
making sure that the pads are In the open<br />
position, of course. Now. you rotate the<br />
assembly until the detent in the pad stud<br />
bushing is in line with the assembly holding<br />
screw. In this position tighten the holding<br />
screw iFMg. 3, No. 7' securely. Following<br />
this procedure will assure proper pressure<br />
of the pad against the intermittent<br />
sprocket.<br />
REMOVING APERTURE PLATE<br />
now remove the two screws in the lower<br />
bearing bracket (Fig. 2. No. 17'. Next Uikc<br />
out the two screws In the Intermittent<br />
drive gear bracket iFig. 2, No. I8i. Dl.sengage<br />
this bracket from its holder. Please<br />
note that the upper and lower bearing<br />
brackets are located In position by<br />
dowel pins. Holding the vertical shaft unit<br />
with both hands, disengage the bearing<br />
bracket from dowel pins and remove<br />
the complete a.ssembly.<br />
The vertical shaft unit can be easily disassembled<br />
by removing the collar nut on<br />
top of the vertical shaft by loosening the<br />
two set screws and unscrewing the nut<br />
from the shaft. Carefully remove the bottom<br />
steel gear from shaft by taking out the<br />
retaining screw. All parts on the shaft<br />
can now be removed very quickly and<br />
easily. He .sure, when i- :...->,... ..<br />
.^-^^<br />
shaft, you replace all i„.ii<br />
proper posllloiw Steel w.. .iwuy.<br />
placed uKBlnst the face of iJu bitll Uarlnu.'i<br />
The lUu.stratlon of the Rear Hide of the<br />
mechanl.sm shows how all thi- \>t\rV. -.houUI<br />
be o.s.sembled In the projector Unii , runnot<br />
be positioned wrong &x they mast fit<br />
Into dowel pins.<br />
When you have re-a.s.sembled the vcrllcul<br />
shaft parts, be sure each part l.s placed back<br />
correctly and then tighten the oollar nut<br />
.set<br />
.screws .securely.<br />
Here Is the correct procedure on removlnB<br />
and replacing the pad roller arm teaslon<br />
springs and balls: Drive out the Uiper pin<br />
from the arm stud bushing nnd take off<br />
Continued on following pogt<br />
How to Remove the Aperture Plate<br />
Pull out the aperture retaining plate iPig.<br />
1. No. 14 » which is behind the aperture<br />
plate. This frees the aperture so that it<br />
can be moved a little toward the rear,<br />
allowing it to be pulled directly out of its<br />
holder. The aperture plate is held firmly<br />
in position by its specially designed shape.<br />
The aperture should be taken out every<br />
day and cleaned so there will be no dirt<br />
around its edges, or other accumulation.<br />
Replacing the Film Gate Pad—First, remove<br />
the film gate unit from the mechanism<br />
by loosening the holding screw iFig. 1,<br />
No. 21. The pad is removed by taking out<br />
the four holding screws. Carefully install<br />
the new film pad with marking 'TOP"<br />
corresponding with the "TOP" of the film<br />
gate plate. Next, press the film gate pad<br />
against the two film gate spring retaining<br />
plates and gate plate. Fasten the pad in<br />
position with its holding screws, making<br />
sure that everything fits correctly in place<br />
as outlined here. It is a very good idea to<br />
3heck the complete gate assembly to make<br />
sure that the pad is operating in its "in"<br />
and "out" movement against the springs<br />
oefore re-installing the film gate assembly<br />
n the mechanism. Be sure t6 tighten the<br />
holding screw.<br />
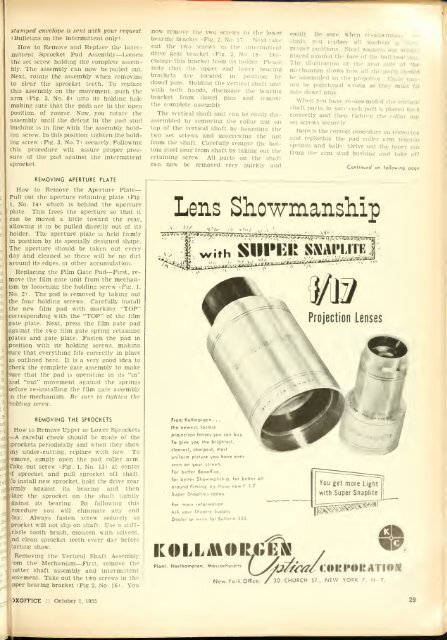
Lens Showmansliip<br />
REMOVING THE SPROCKETS<br />
How to Remove Upper or Lower Sprockets<br />
—A careful check should be made of the<br />
prockets periodically and when they show<br />
iny under-cutting, replace with new. To<br />
emove. simply open the pad roller arm.<br />
Take out screw 'Fig. 1, No. 13* at center<br />
f sprocket and pull sprocket off shaft.<br />
'o install new sprocket, hold the drive gear<br />
irmly against its bearing and then<br />
ilace the sprocket on the shaft tightly<br />
gainst its bearing. By following this<br />
Tocedure you will eliminate any end<br />
'lay. Always fasten screw securely so<br />
procket will not slip on shaft. Use a stiffrlstle<br />
tooth brush, moisten with solvent,<br />
nd clean sprocket teeth every day before<br />
tarting show.<br />
Removing the Vertical Shaft Assembly<br />
"om the Mechanism—First, remove the<br />
lutter shaft assembly and intermittent<br />
lovement. Take out the two screws in the<br />
pper bearing bracket (Fig 2, No. 16 1 . You<br />
From Kollmorgcn . .<br />
the newest, fostesi<br />
projection lenjci you con b<br />
To give you ttic brigtitest.<br />
cleorest, stiorpcst, moit<br />
uniform picture you hove ever<br />
seen on your screen.<br />
For better <strong>Boxoffice</strong>,<br />
for better Showmanship, for belter oil<br />
oround filming, try these new 1/1.7<br />
Super Snopliles lodoy.<br />
For more information<br />
osk your Theatre Supply<br />
Deoler or write lor Bulletin 222.<br />
d3!k<br />
Plant; Northompto<br />
OltATlOW<br />
New York Offico /30 CHURCH ST ,<br />
NEW TO RK 7, N Y.<br />
JXOFTICE October 1. 1955 29