Boxoffice-October.01.1955

You also want an ePaper? Increase the reach of your titles
YUMPU automatically turns print PDFs into web optimized ePapers that Google loves.
. They<br />
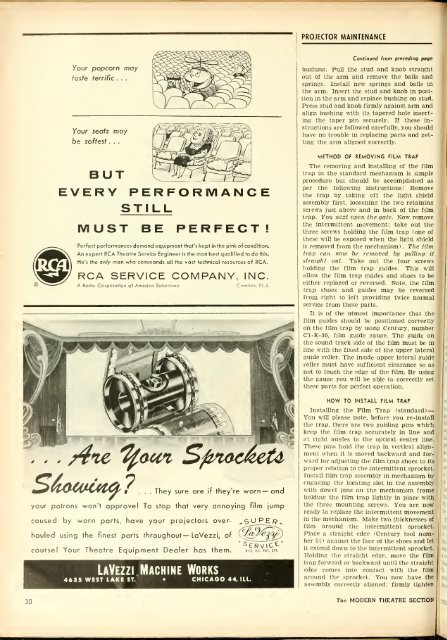
PROJECTOR MAINTENANCE<br />
30<br />
Your popcorn<br />
taste terrific . . .<br />
Your seats<br />
be softest . . .<br />
may<br />
may<br />
BUT<br />
EVERY PERFORMANCE<br />
STILL<br />
MUST BE PERFECT!<br />
Perfect performances demand equipment that's kept in the pink of condition.<br />
An expert RCA Theatre Service Engineer is the man best qualified to do this.<br />
He's the only man who commends all the vast technical resources of RCA.<br />
RCA SERVICE COMPANY, INC.<br />
A Radio Corporalion of America Subsidiary<br />
Camden, N.J.<br />
sure are if they're worn— and<br />
your patrons won't approve! To stop that very annoying film jump<br />
caused by worn parts, hove your projectors over- ^SUPE/?^<br />
hauled using the finest parts throughout— LaVezzi, of ''^^^jf^^y<br />
course! Your Theatre Equipment Dealer has them. mr. «< pu. on.<br />
LaVezzi Machine Works<br />
4635 WEST LAKE ST. CHICAGO 44, ILL.<br />
Continued from preceding page<br />
bushing. Pull the stud and knob straight<br />
out of the arm and remove the balls and<br />
springs. Install new springs and balls in<br />
the arm. Insert the stud and knob in position<br />
in the arm and replace bushing on stud.<br />
Press stud and knob firmly against arm and<br />
align bushing with its tapered hole inserting<br />
the taper pin securely. If these instructions<br />
are followed carefully, you should<br />
have no trouble in replacing parts and getting<br />
the arm aligned correctly.<br />
METHOD OF REMOVING FILM TRAP<br />
The removing and installing of the film<br />
trap in the standard mechanism is simple<br />
procedure but should be accomplished as<br />
per the following instructions: Remove<br />
the trap by taking off the light shield<br />
assembly first, loosening the two retaining<br />
screws just above and in back of the film<br />
trap. You next open the gate. Now remove<br />
the intermittent movement; take out the<br />
three screws holding the film trap (one of<br />
these will be exposed when the light shield<br />
is removed from the mechanism* . The film<br />
trap can now be removed by pulling it<br />
straight out. Take out the four screws<br />
holding the film trap guides. This will<br />
allow the film trap guides and shoes to be<br />
either replaced or reversed. Note, the film<br />
trap shoes and guides may be reversed<br />
from right to left providing twice normal<br />
service from these parts.<br />
It is of the utmost importance that the<br />
film guides should be positioned correctly<br />
on the film trap by using Century, number<br />
Cl-E-30, film guide gauge. The guide on<br />
the sound track side of the film must be in<br />
line with the fixed side of the upper lateral<br />
guide roller. The inside upper lateral guide<br />
roller must have sufficient clearance so as<br />
not to touch the edge of the film. By using<br />
the gauge you will be able to correctly set<br />
these parts for perfect operation.<br />
HOW TO INSTALL FILM TRAP<br />
Installing the Film Trap (standard) —<br />
You will please note, before you re-Install<br />
the trap, there are two guiding pins which<br />
keep the film trap accurately in line and<br />
at right angles to the optical center line.<br />
These pins hold the trap in vertical alignment<br />
when it is moved backward and forward<br />
for adjusting the film trap shoes to its<br />
proper relation to the intermittent sprocket.<br />
Install film trap a.ssembly in mechanism by<br />
engaging the locating slot in the assembly<br />
with dowel pins on the mechanism frame<br />
holding the film trap lightly in place with<br />
the three mounting screws. You are now<br />
ready to replace the intermittent movement<br />
in the mechanism. Make two thicknesses of<br />
film around the intermittent sprocket.<br />
Place a straight edge (Century tool number<br />
51) against the face of the shoes and let<br />
it extend down to the intermittent sprocket.<br />
Holding the straight edge, move the film<br />
trap forward or backward until the straight<br />
edge comes into contact with the film<br />
around the sprocket. You now have the<br />
a.ssembly correctly aligned: firmly tighten<br />
The MODERN THEATRE SECTION