Palette Installation and Setup Guide - Grand Stage Company
Palette Installation and Setup Guide - Grand Stage Company
Palette Installation and Setup Guide - Grand Stage Company
You also want an ePaper? Increase the reach of your titles
YUMPU automatically turns print PDFs into web optimized ePapers that Google loves.
LIGHTING CONTROL CONSOLE INSTALLATION & SETUP GUIDE<br />
<strong>Palette</strong><br />
6. Edit Button<br />
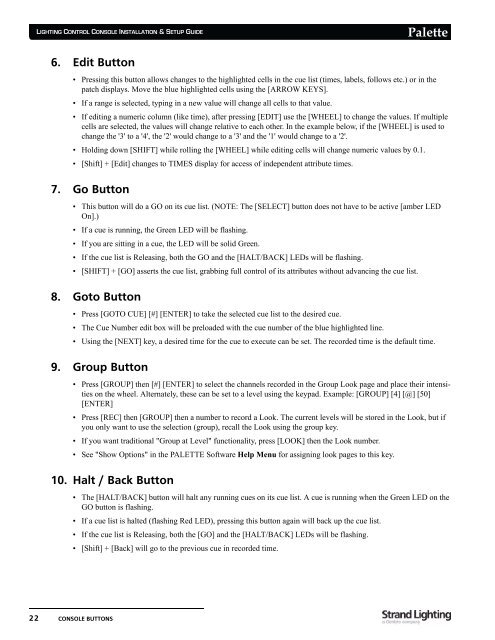
• Pressing this button allows changes to the highlighted cells in the cue list (times, labels, follows etc.) or in the<br />
patch displays. Move the blue highlighted cells using the [ARROW KEYS].<br />
• If a range is selected, typing in a new value will change all cells to that value.<br />
• If editing a numeric column (like time), after pressing [EDIT] use the [WHEEL] to change the values. If multiple<br />
cells are selected, the values will change relative to each other. In the example below, if the [WHEEL] is used to<br />
change the '3' to a '4', the '2' would change to a '3' <strong>and</strong> the '1' would change to a '2'.<br />
• Holding down [SHIFT] while rolling the [WHEEL] while editing cells will change numeric values by 0.1.<br />
• [Shift] + [Edit] changes to TIMES display for access of independent attribute times.<br />
7. Go Button<br />
• This button will do a GO on its cue list. (NOTE: The [SELECT] button does not have to be active [amber LED<br />
On].)<br />
• If a cue is running, the Green LED will be flashing.<br />
• If you are sitting in a cue, the LED will be solid Green.<br />
• If the cue list is Releasing, both the GO <strong>and</strong> the [HALT/BACK] LEDs will be flashing.<br />
• [SHIFT] + [GO] asserts the cue list, grabbing full control of its attributes without advancing the cue list.<br />
8. Goto Button<br />
• Press [GOTO CUE] [#] [ENTER] to take the selected cue list to the desired cue.<br />
• The Cue Number edit box will be preloaded with the cue number of the blue highlighted line.<br />
• Using the [NEXT] key, a desired time for the cue to execute can be set. The recorded time is the default time.<br />
9. Group Button<br />
• Press [GROUP] then [#] [ENTER] to select the channels recorded in the Group Look page <strong>and</strong> place their intensities<br />
on the wheel. Alternately, these can be set to a level using the keypad. Example: [GROUP] [4] [@] [50]<br />
[ENTER]<br />
• Press [REC] then [GROUP] then a number to record a Look. The current levels will be stored in the Look, but if<br />
you only want to use the selection (group), recall the Look using the group key.<br />
• If you want traditional "Group at Level" functionality, press [LOOK] then the Look number.<br />
• See "Show Options" in the PALETTE Software Help Menu for assigning look pages to this key.<br />
10. Halt / Back Button<br />
• The [HALT/BACK] button will halt any running cues on its cue list. A cue is running when the Green LED on the<br />
GO button is flashing.<br />
• If a cue list is halted (flashing Red LED), pressing this button again will back up the cue list.<br />
• If the cue list is Releasing, both the [GO] <strong>and</strong> the [HALT/BACK] LEDs will be flashing.<br />
• [Shift] + [Back] will go to the previous cue in recorded time.<br />
22 CONSOLE BUTTONS


