


You also want an ePaper? Increase the reach of your titles
YUMPU automatically turns print PDFs into web optimized ePapers that Google loves.
194 CHAPTER NINE<br />
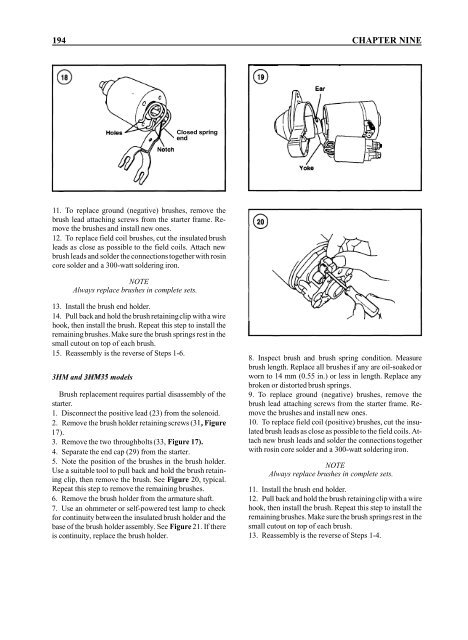
Closed spring<br />
end<br />
11. To replace ground (negative) brushes, remove the<br />
brush lead attaching screws from the starter frame. Remove<br />
the brushes and install new ones.<br />
12. To replace field coil brushes, cut the insulated brush<br />
leads as close as possible to the field coils. Attach new<br />
brush leads and solder the connections together with rosin<br />
core solder and a 300-watt soldering iron.<br />
NOTE<br />
Always replace brushes in complete sets.<br />
13. Install the brush end holder.<br />
14. Pull back and hold the brush retaining clip with a wire<br />
hook, then install the brush. Repeat this step to install the<br />
remaining brushes. Make sure the brush springs rest in the<br />
small cutout on top of each brush.<br />
15. Reassembly is the reverse of Steps 1-6.<br />
3HM and 3HM35 models<br />
Brush replacement requires partial disassembly of the<br />
starter.<br />
1. Disconnect the positive lead (23) from the solenoid.<br />
2. Remove the brush holder retaining screws (3 1, Figure<br />
17).<br />
3. Remove the two throughbolts (33, Figure 17).<br />
4. Separate the end cap (29) from the starter.<br />
5. Note the position of the brushes in the brush holder.<br />
Use a suitable tool to pull back and hold the brush retaining<br />
clip, then remove the brush. See Figure 20, typical.<br />
Repeat this step to remove the remaining brushes.<br />
6. Remove the brush holder from the armature shaft.<br />
7. Use an ohmmeter or self-powered test lamp to check<br />
for continuity between the insulated brush holder and the<br />
base of the brush holder assembly. See Figure 21. If there<br />
is continuity, replace the brush holder.<br />
8. Inspect brush and brush spring condition. Measure<br />
brush length. Replace all brushes if any are oil-soaked or<br />
worn to 14 mm (0.55 in.) or less in length. Replace any<br />
broken or distorted brush springs.<br />
9. To replace ground (negative) brushes, remove the<br />
brush lead attaching screws from the starter frame. Remove<br />
the brushes and install new ones.<br />
10. To replace field coil (positive) brushes, cut the insulated<br />
brush leads as close as possible to the field coils. Attach<br />
new brush leads and solder the connections together<br />
with rosin core solder and a 300-watt soldering iron.<br />
NOTE<br />
Always replace brushes in complete sets.<br />
11. Install the brush end holder.<br />
12. Pull back and hold the brush retaining clip with a wire<br />
hook, then install the brush. Repeat this step to install the<br />
remaining brushes. Make sure the brush springs rest in the<br />
small cutout on top of each brush.<br />
13. Reassembly is the reverse of Steps 1-4.


