Customer Guide - visit site - Grande Communications
Customer Guide - visit site - Grande Communications
Customer Guide - visit site - Grande Communications

You also want an ePaper? Increase the reach of your titles
YUMPU automatically turns print PDFs into web optimized ePapers that Google loves.
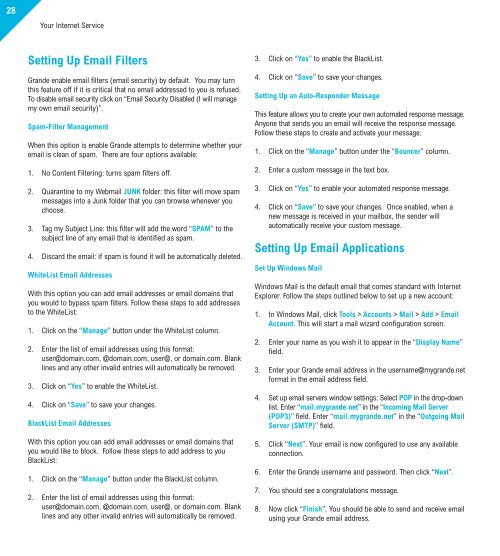
28Your Internet ServiceSetting Up Email Filters<strong>Grande</strong> enable email filters (email security) by default. You may turnthis feature off if it is critical that no email addressed to you is refused.To disable email security click on “Email Security Disabled (I will managemy own email security)”.Spam-Filter ManagementWhen this option is enable <strong>Grande</strong> attempts to determine whether youremail is clean of spam. There are four options available:1. No Content Filtering: turns spam filters off.2. Quarantine to my Webmail JUNK folder: this filter will move spammessages into a Junk folder that you can browse whenever youchoose.3. Tag my Subject Line: this filter will add the word “SPAM” to thesubject line of any email that is identified as spam.4. Discard the email: if spam is found it will be automatically deleted.WhiteList Email AddressesWith this option you can add email addresses or email domains thatyou would to bypass spam filters. Follow these steps to add addressesto the WhiteList:1. Click on the “Manage” button under the WhiteList column.2. Enter the list of email addresses using this format:user@domain.com, @domain.com, user@, or domain.com. Blanklines and any other invalid entries will automatically be removed.3. Click on “Yes” to enable the WhiteList.4. Click on “Save” to save your changes.BlackList Email AddressesWith this option you can add email addresses or email domains thatyou would like to block. Follow these steps to add address to youBlackList:1. Click on the “Manage” button under the BlackList column.2. Enter the list of email addresses using this format:user@domain.com, @domain.com, user@, or domain.com. Blanklines and any other invalid entries will automatically be removed.3. Click on “Yes” to enable the BlackList.4. Click on “Save” to save your changes.Setting Up an Auto-Responder MessageThis feature allows you to create your own automated response message.Anyone that sends you an email will receive the response message.Follow these steps to create and activate your message:1. Click on the “Manage” button under the “Bouncer” column.2. Enter a custom message in the text box.3. Click on “Yes” to enable your automated response message.4. Click on “Save” to save your changes. Once enabled, when anew message is received in your mailbox, the sender willautomatically receive your custom message.Setting Up Email ApplicationsSet Up Windows MailWindows Mail is the default email that comes standard with InternetExplorer. Follow the steps outlined below to set up a new account:1. In Windows Mail, click Tools > Accounts > Mail > Add > EmailAccount. This will start a mail wizard configuration screen.2. Enter your name as you wish it to appear in the “Display Name”field.3. Enter your <strong>Grande</strong> email address in the username@mygrande.netformat in the email address field.4. Set up email servers window settings: Select POP in the drop-downlist. Enter “mail.mygrande.net” in the “Incoming Mail Server(POP3)” field. Enter “mail.mygrande.net” in the “Outgoing MailServer (SMTP)” field.5. Click “Next”. Your email is now configured to use any availableconnection.6. Enter the <strong>Grande</strong> username and password. Then click “Next”.7. You should see a congratulations message.8. Now click “Finish”. You should be able to send and receive emailusing your <strong>Grande</strong> email address.