Customer Guide - visit site - Grande Communications
Customer Guide - visit site - Grande Communications
Customer Guide - visit site - Grande Communications
You also want an ePaper? Increase the reach of your titles
YUMPU automatically turns print PDFs into web optimized ePapers that Google loves.
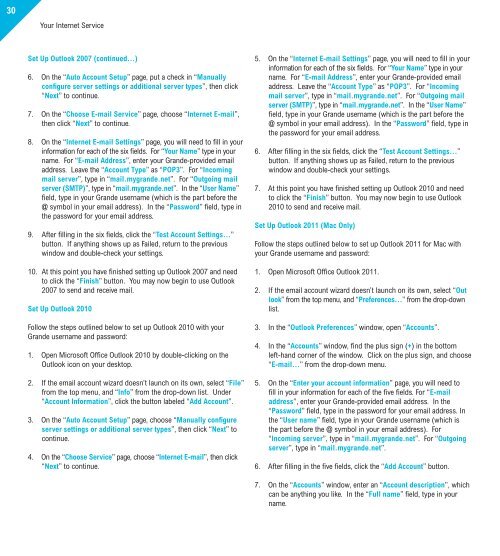
30Your Internet ServiceSet Up Outlook 2007 (continued...)6. On the “Auto Account Setup” page, put a check in “Manuallyconfigure server settings or additional server types”, then click“Next” to continue.7. On the “Choose E-mail Service” page, choose “Internet E-mail”,then click “Next” to continue.8. On the “Internet E-mail Settings” page, you will need to fill in yourinformation for each of the six fields. For “Your Name” type in yourname. For “E-mail Address”, enter your <strong>Grande</strong>-provided emailaddress. Leave the “Account Type” as “POP3”. For “Incomingmail server”, type in “mail.mygrande.net”. For “Outgoing mailserver (SMTP)”, type in “mail.mygrande.net”. In the “User Name”field, type in your <strong>Grande</strong> username (which is the part before the@ symbol in your email address). In the “Password” field, type inthe password for your email address.9. After filling in the six fields, click the “Test Account Settings…”button. If anything shows up as Failed, return to the previouswindow and double-check your settings.10. At this point you have finished setting up Outlook 2007 and needto click the “Finish” button. You may now begin to use Outlook2007 to send and receive mail.Set Up Outlook 2010Follow the steps outlined below to set up Outlook 2010 with your<strong>Grande</strong> username and password:1. Open Microsoft Office Outlook 2010 by double-clicking on theOutlook icon on your desktop.2. If the email account wizard doesn’t launch on its own, select “File”from the top menu, and “Info” from the drop-down list. Under“Account Information”, click the button labeled “Add Account”.3. On the “Auto Account Setup” page, choose “Manually configureserver settings or additional server types”, then click “Next” tocontinue.4. On the “Choose Service” page, choose “Internet E-mail”, then click“Next” to continue.5. On the “Internet E-mail Settings” page, you will need to fill in yourinformation for each of the six fields. For “Your Name” type in yourname. For “E-mail Address”, enter your <strong>Grande</strong>-provided emailaddress. Leave the “Account Type” as “POP3”. For “Incomingmail server”, type in “mail.mygrande.net”. For “Outgoing mailserver (SMTP)”, type in “mail.mygrande.net”. In the “User Name”field, type in your <strong>Grande</strong> username (which is the part before the@ symbol in your email address). In the “Password” field, type inthe password for your email address.6. After filling in the six fields, click the “Test Account Settings…”button. If anything shows up as Failed, return to the previouswindow and double-check your settings.7. At this point you have finished setting up Outlook 2010 and needto click the “Finish” button. You may now begin to use Outlook2010 to send and receive mail.Set Up Outlook 2011 (Mac Only)Follow the steps outlined below to set up Outlook 2011 for Mac withyour <strong>Grande</strong> username and password:1. Open Microsoft Office Outlook 2011.2. If the email account wizard doesn’t launch on its own, select “Outlook” from the top menu, and “Preferences…” from the drop-downlist.3. In the “Outlook Preferences” window, open “Accounts”.4. In the “Accounts” window, find the plus sign (+) in the bottomleft-hand corner of the window. Click on the plus sign, and choose“E-mail…” from the drop-down menu.5. On the “Enter your account information” page, you will need tofill in your information for each of the five fields. For “E-mailaddress”, enter your <strong>Grande</strong>-provided email address. In the“Password” field, type in the password for your email address. Inthe “User name” field, type in your <strong>Grande</strong> username (which isthe part before the @ symbol in your email address). For“Incoming server”, type in “mail.mygrande.net”. For “Outgoingserver”, type in “mail.mygrande.net”.6. After filling in the five fields, click the “Add Account” button.7. On the “Accounts” window, enter an “Account description”, whichcan be anything you like. In the “Full name” field, type in yourname.


