Accutorr Plus Service Manual - Mindray
Accutorr Plus Service Manual - Mindray
Accutorr Plus Service Manual - Mindray

Create successful ePaper yourself
Turn your PDF publications into a flip-book with our unique Google optimized e-Paper software.
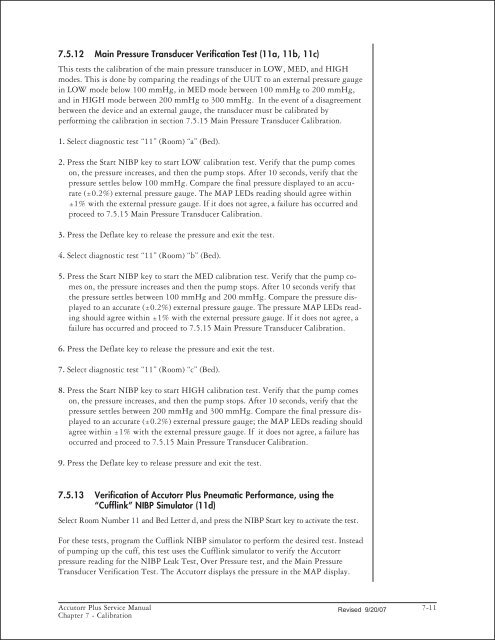
7.5.12 Main Pressure Transducer Verification Test (11a, 11b, 11c)<br />
This tests the calibration of the main pressure transducer in LOW, MED, and HIGH<br />
modes. This is done by comparing the readings of the UUT to an external pressure gauge<br />
in LOW mode below 100 mmHg, in MED mode between 100 mmHg to 200 mmHg,<br />
and in HIGH mode between 200 mmHg to 300 mmHg. In the event of a disagreement<br />
between the device and an external gauge, the transducer must be calibrated by<br />
performing the calibration in section 7.5.15 Main Pressure Transducer Calibration.<br />
1. Select diagnostic test “11” (Room) “a” (Bed).<br />
2. Press the Start NIBP key to start LOW calibration test. Verify that the pump comes<br />
on, the pressure increases, and then the pump stops. After 10 seconds, verify that the<br />
pressure settles below 100 mmHg. Compare the final pressure displayed to an accurate<br />
(±0.2%) external pressure gauge. The MAP LEDs reading should agree within<br />
±1% with the external pressure gauge. If it does not agree, a failure has occurred and<br />
proceed to 7.5.15 Main Pressure Transducer Calibration.<br />
3. Press the Deflate key to release the pressure and exit the test.<br />
4. Select diagnostic test “11” (Room) “b” (Bed).<br />
5. Press the Start NIBP key to start the MED calibration test. Verify that the pump comes<br />
on, the pressure increases and then the pump stops. After 10 seconds verify that<br />
the pressure settles between 100 mmHg and 200 mmHg. Compare the pressure displayed<br />
to an accurate (±0.2%) external pressure gauge. The pressure MAP LEDs reading<br />
should agree within ±1% with the external pressure gauge. If it does not agree, a<br />
failure has occurred and proceed to 7.5.15 Main Pressure Transducer Calibration.<br />
6. Press the Deflate key to release the pressure and exit the test.<br />
7. Select diagnostic test “11” (Room) “c” (Bed).<br />
8. Press the Start NIBP key to start HIGH calibration test. Verify that the pump comes<br />
on, the pressure increases, and then the pump stops. After 10 seconds, verify that the<br />
pressure settles between 200 mmHg and 300 mmHg. Compare the final pressure displayed<br />
to an accurate (±0.2%) external pressure gauge; the MAP LEDs reading should<br />
agree within ±1% with the external pressure gauge. If it does not agree, a failure has<br />
occurred and proceed to 7.5.15 Main Pressure Transducer Calibration.<br />
9. Press the Deflate key to release pressure and exit the test.<br />
7.5.13 Verification of <strong>Accutorr</strong> <strong>Plus</strong> Pneumatic Performance, using the<br />
“Cufflink” NIBP Simulator (11d)<br />
Select Room Number 11 and Bed Letter d, and press the NIBP Start key to activate the test.<br />
For these tests, program the Cufflink NIBP simulator to perform the desired test. Instead<br />
of pumping up the cuff, this test uses the Cufflink simulator to verify the <strong>Accutorr</strong><br />
pressure reading for the NIBP Leak Test, Over Pressure test, and the Main Pressure<br />
Transducer Verification Test. The <strong>Accutorr</strong> displays the pressure in the MAP display.<br />
<strong>Accutorr</strong> <strong>Plus</strong> <strong>Service</strong> <strong>Manual</strong> Revised 9/20/07<br />
7-11<br />
Chapter 7 - Calibration