Accutorr Plus Service Manual - Mindray
Accutorr Plus Service Manual - Mindray
Accutorr Plus Service Manual - Mindray

Create successful ePaper yourself
Turn your PDF publications into a flip-book with our unique Google optimized e-Paper software.
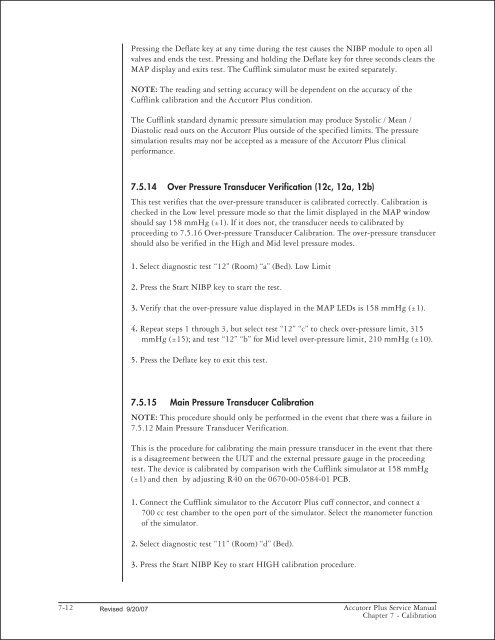
Pressing the Deflate key at any time during the test causes the NIBP module to open all<br />
valves and ends the test. Pressing and holding the Deflate key for three seconds clears the<br />
MAP display and exits test. The Cufflink simulator must be exited separately.<br />
NOTE: The reading and setting accuracy will be dependent on the accuracy of the<br />
Cufflink calibration and the <strong>Accutorr</strong> <strong>Plus</strong> condition.<br />
The Cufflink standard dynamic pressure simulation may produce Systolic / Mean /<br />
Diastolic read outs on the <strong>Accutorr</strong> <strong>Plus</strong> outside of the specified limits. The pressure<br />
simulation results may not be accepted as a measure of the <strong>Accutorr</strong> <strong>Plus</strong> clinical<br />
performance.<br />
7.5.14 Over Pressure Transducer Verification (12c, 12a, 12b)<br />
This test verifies that the over-pressure transducer is calibrated correctly. Calibration is<br />
checked in the Low level pressure mode so that the limit displayed in the MAP window<br />
should say 158 mmHg (±1). If it does not, the transducer needs to calibrated by<br />
proceeding to 7.5.16 Over-pressure Transducer Calibration. The over-pressure transducer<br />
should also be verified in the High and Mid level pressure modes.<br />
1. Select diagnostic test “12” (Room) “a” (Bed). Low Limit<br />
2. Press the Start NIBP key to start the test.<br />
3. Verify that the over-pressure value displayed in the MAP LEDs is 158 mmHg (±1).<br />
4. Repeat steps 1 through 3, but select test “12” “c” to check over-pressure limit, 315<br />
mmHg (±15); and test “12” “b” for Mid level over-pressure limit, 210 mmHg (±10).<br />
5. Press the Deflate key to exit this test.<br />
7.5.15 Main Pressure Transducer Calibration<br />
NOTE: This procedure should only be performed in the event that there was a failure in<br />
7.5.12 Main Pressure Transducer Verification.<br />
This is the procedure for calibrating the main pressure transducer in the event that there<br />
is a disagreement between the UUT and the external pressure gauge in the proceeding<br />
test. The device is calibrated by comparison with the Cufflink simulator at 158 mmHg<br />
(±1) and then by adjusting R40 on the 0670-00-0584-01 PCB.<br />
1. Connect the Cufflink simulator to the <strong>Accutorr</strong> <strong>Plus</strong> cuff connector, and connect a<br />
700 cc test chamber to the open port of the simulator. Select the manometer function<br />
of the simulator.<br />
2. Select diagnostic test “11” (Room) “d” (Bed).<br />
3. Press the Start NIBP Key to start HIGH calibration procedure.<br />
7-12 Revised 9/20/07<br />
<strong>Accutorr</strong> <strong>Plus</strong> <strong>Service</strong> <strong>Manual</strong><br />
Chapter 7 - Calibration