e-brick installation and user manual - GEW UV System v1.0
e-brick installation and user manual - GEW UV System v1.0
e-brick installation and user manual - GEW UV System v1.0
You also want an ePaper? Increase the reach of your titles
YUMPU automatically turns print PDFs into web optimized ePapers that Google loves.
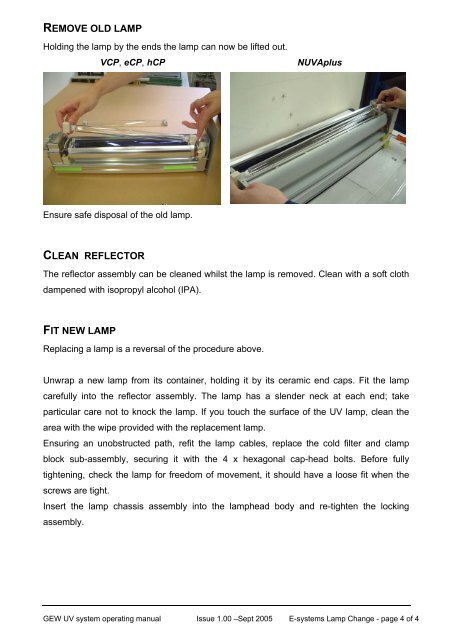
REMOVE OLD LAMP<br />
Holding the lamp by the ends the lamp can now be lifted out.<br />
VCP, eCP, hCP N<strong>UV</strong>Aplus<br />
Ensure safe disposal of the old lamp.<br />
CLEAN REFLECTOR<br />
The reflector assembly can be cleaned whilst the lamp is removed. Clean with a soft cloth<br />
dampened with isopropyl alcohol (IPA).<br />
FIT NEW LAMP<br />
Replacing a lamp is a reversal of the procedure above.<br />
Unwrap a new lamp from its container, holding it by its ceramic end caps. Fit the lamp<br />
carefully into the reflector assembly. The lamp has a slender neck at each end; take<br />
particular care not to knock the lamp. If you touch the surface of the <strong>UV</strong> lamp, clean the<br />
area with the wipe provided with the replacement lamp.<br />
Ensuring an unobstructed path, refit the lamp cables, replace the cold filter <strong>and</strong> clamp<br />
block sub-assembly, securing it with the 4 x hexagonal cap-head bolts. Before fully<br />
tightening, check the lamp for freedom of movement, it should have a loose fit when the<br />
screws are tight.<br />
Insert the lamp chassis assembly into the lamphead body <strong>and</strong> re-tighten the locking<br />
assembly.<br />
<strong>GEW</strong> <strong>UV</strong> system operating <strong>manual</strong> Issue 1.00 –Sept 2005 E-systems Lamp Change - page 4 of 4


