SK-NET™ Operating & Installation Guide - Secura Key
SK-NET™ Operating & Installation Guide - Secura Key
SK-NET™ Operating & Installation Guide - Secura Key

You also want an ePaper? Increase the reach of your titles
YUMPU automatically turns print PDFs into web optimized ePapers that Google loves.
<strong>SK</strong>-NET<br />
<strong>Operating</strong> & <strong>Installation</strong> <strong>Guide</strong><br />
1.4 How is <strong>SK</strong>-NET organized<br />
2. GETTING STARTED<br />
2.1 Site Plan<br />
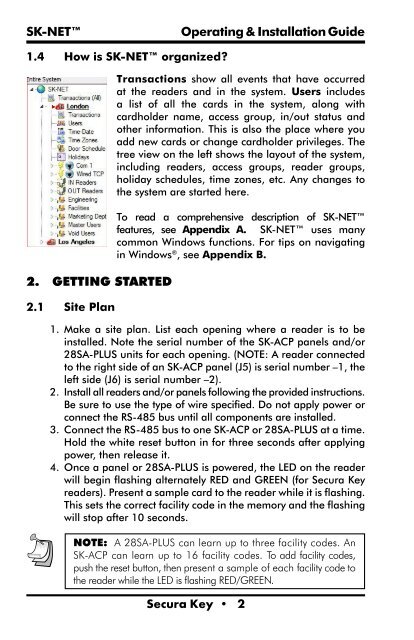
Transactions show all events that have occurred<br />
at the readers and in the system. Users includes<br />
a list of all the cards in the system, along with<br />
cardholder name, access group, in/out status and<br />
other information. This is also the place where you<br />
add new cards or change cardholder privileges. The<br />
tree view on the left shows the layout of the system,<br />
including readers, access groups, reader groups,<br />
holiday schedules, time zones, etc. Any changes to<br />
the system are started here.<br />
To read a comprehensive description of <strong>SK</strong>-NET<br />
features, see Appendix A. <strong>SK</strong>-NET uses many<br />
common Windows functions. For tips on navigating<br />
in Windows ® , see Appendix B.<br />
1. Make a site plan. List each opening where a reader is to be<br />
installed. Note the serial number of the <strong>SK</strong>-ACP panels and/or<br />
28SA-PLUS units for each opening. (NOTE: A reader connected<br />
to the right side of an <strong>SK</strong>-ACP panel (J5) is serial number –1, the<br />
left side (J6) is serial number –2).<br />
2. Install all readers and/or panels following the provided instructions.<br />
Be sure to use the type of wire specified. Do not apply power or<br />
connect the RS-485 bus until all components are installed.<br />
3. Connect the RS-485 bus to one <strong>SK</strong>-ACP or 28SA-PLUS at a time.<br />
Hold the white reset button in for three seconds after applying<br />
power, then release it.<br />
4. Once a panel or 28SA-PLUS is powered, the LED on the reader<br />
will begin flashing alternately RED and GREEN (for <strong>Secura</strong> <strong>Key</strong><br />
readers). Present a sample card to the reader while it is flashing.<br />
This sets the correct facility code in the memory and the flashing<br />
will stop after 10 seconds.<br />
NOTE: A 28SA-PLUS can learn up to three facility codes. An<br />
<strong>SK</strong>-ACP can learn up to 16 facility codes. To add facility codes,<br />
push the reset button, then present a sample of each facility code to<br />
the reader while the LED is flashing RED/GREEN.<br />
<strong>Secura</strong> <strong>Key</strong> • 2