INtime® 3.1 Software - tenAsys
INtime® 3.1 Software - tenAsys
INtime® 3.1 Software - tenAsys

Create successful ePaper yourself
Turn your PDF publications into a flip-book with our unique Google optimized e-Paper software.
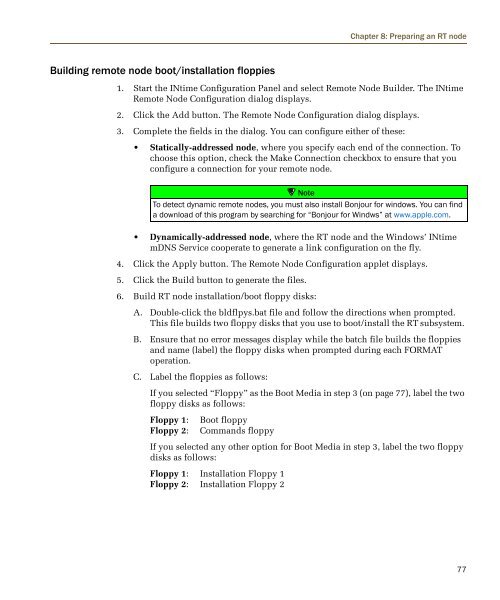
Chapter 8: Preparing an RT node<br />
Building remote node boot/installation floppies<br />
1. Start the INtime Configuration Panel and select Remote Node Builder. The INtime<br />
Remote Node Configuration dialog displays.<br />
2. Click the Add button. The Remote Node Configuration dialog displays.<br />
3. Complete the fields in the dialog. You can configure either of these:<br />
• Statically-addressed node, where you specify each end of the connection. To<br />
choose this option, check the Make Connection checkbox to ensure that you<br />
configure a connection for your remote node.<br />
Note<br />
To detect dynamic remote nodes, you must also install Bonjour for windows. You can find<br />
a download of this program by searching for “Bonjour for Windws” at www.apple.com.<br />
• Dynamically-addressed node, where the RT node and the Windows’ INtime<br />
mDNS Service cooperate to generate a link configuration on the fly.<br />
4. Click the Apply button. The Remote Node Configuration applet displays.<br />
5. Click the Build button to generate the files.<br />
6. Build RT node installation/boot floppy disks:<br />
A. Double-click the bldflpys.bat file and follow the directions when prompted.<br />
This file builds two floppy disks that you use to boot/install the RT subsystem.<br />
B. Ensure that no error messages display while the batch file builds the floppies<br />
and name (label) the floppy disks when prompted during each FORMAT<br />
operation.<br />
C. Label the floppies as follows:<br />
If you selected “Floppy” as the Boot Media in step 3 (on page 77), label the two<br />
floppy disks as follows:<br />
Floppy 1: Boot floppy<br />
Floppy 2: Commands floppy<br />
If you selected any other option for Boot Media in step 3, label the two floppy<br />
disks as follows:<br />
Floppy 1: Installation Floppy 1<br />
Floppy 2: Installation Floppy 2<br />
77