Model SR715 Model SR720 LCR Meters
Model SR715 Model SR720 LCR Meters
Model SR715 Model SR720 LCR Meters
- No tags were found...

Create successful ePaper yourself
Turn your PDF publications into a flip-book with our unique Google optimized e-Paper software.
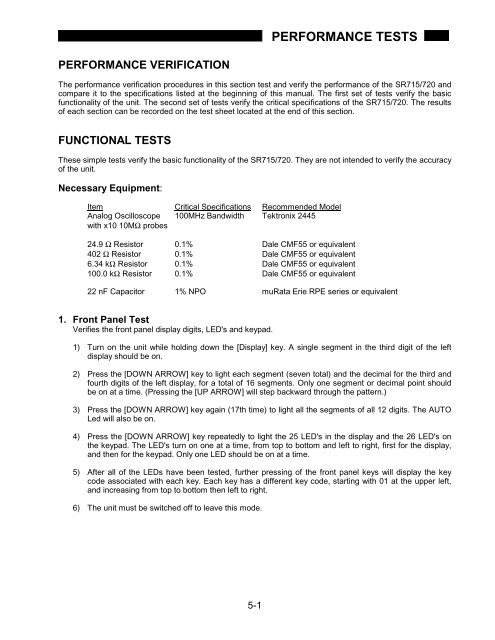
PERFORMANCE TESTSPERFORMANCE VERIFICATIONThe performance verification procedures in this section test and verify the performance of the <strong>SR715</strong>/720 andcompare it to the specifications listed at the beginning of this manual. The first set of tests verify the basicfunctionality of the unit. The second set of tests verify the critical specifications of the <strong>SR715</strong>/720. The resultsof each section can be recorded on the test sheet located at the end of this section.FUNCTIONAL TESTSThese simple tests verify the basic functionality of the <strong>SR715</strong>/720. They are not intended to verify the accuracyof the unit.Necessary Equipment:Item Critical Specifications Recommended <strong>Model</strong>Analog Oscilloscope 100MHz Bandwidth Tektronix 2445with x10 10MΩ probes24.9 Ω Resistor 0.1% Dale CMF55 or equivalent402 Ω Resistor 0.1% Dale CMF55 or equivalent6.34 kΩ Resistor 0.1% Dale CMF55 or equivalent100.0 kΩ Resistor 0.1% Dale CMF55 or equivalent22 nF Capacitor 1% NPO muRata Erie RPE series or equivalent1. Front Panel TestVerifies the front panel display digits, LED's and keypad.1) Turn on the unit while holding down the [Display] key. A single segment in the third digit of the leftdisplay should be on.2) Press the [DOWN ARROW] key to light each segment (seven total) and the decimal for the third andfourth digits of the left display, for a total of 16 segments. Only one segment or decimal point shouldbe on at a time. (Pressing the [UP ARROW] will step backward through the pattern.)3) Press the [DOWN ARROW] key again (17th time) to light all the segments of all 12 digits. The AUTOLed will also be on.4) Press the [DOWN ARROW] key repeatedly to light the 25 LED's in the display and the 26 LED's onthe keypad. The LED's turn on one at a time, from top to bottom and left to right, first for the display,and then for the keypad. Only one LED should be on at a time.5) After all of the LEDs have been tested, further pressing of the front panel keys will display the keycode associated with each key. Each key has a different key code, starting with 01 at the upper left,and increasing from top to bottom then left to right.6) The unit must be switched off to leave this mode.5-1