Prisma II 1310 nm High Density Transmitter and Host Module ...
Prisma II 1310 nm High Density Transmitter and Host Module ...
Prisma II 1310 nm High Density Transmitter and Host Module ...

You also want an ePaper? Increase the reach of your titles
YUMPU automatically turns print PDFs into web optimized ePapers that Google loves.
Installing the <strong>Module</strong> in the Chassis<br />
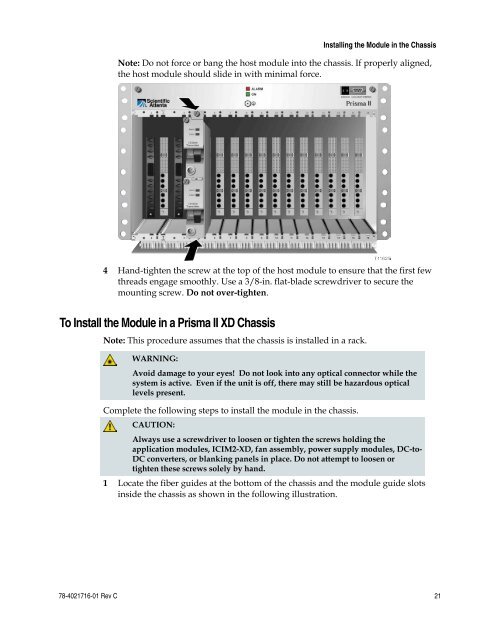
Note: Do not force or bang the host module into the chassis. If properly aligned,<br />
the host module should slide in with minimal force.<br />
4 H<strong>and</strong>-tighten the screw at the top of the host module to ensure that the first few<br />
threads engage smoothly. Use a 3/8-in. flat-blade screwdriver to secure the<br />
mounting screw. Do not over-tighten.<br />
To Install the <strong>Module</strong> in a <strong>Prisma</strong> <strong>II</strong> XD Chassis<br />
Note: This procedure assumes that the chassis is installed in a rack.<br />
WARNING:<br />
Avoid damage to your eyes! Do not look into any optical connector while the<br />
system is active. Even if the unit is off, there may still be hazardous optical<br />
levels present.<br />
Complete the following steps to install the module in the chassis.<br />
CAUTION:<br />
Always use a screwdriver to loosen or tighten the screws holding the<br />
application modules, ICIM2-XD, fan assembly, power supply modules, DC-to-<br />
DC converters, or blanking panels in place. Do not attempt to loosen or<br />
tighten these screws solely by h<strong>and</strong>.<br />
1 Locate the fiber guides at the bottom of the chassis <strong>and</strong> the module guide slots<br />
inside the chassis as shown in the following illustration.<br />
78-4021716-01 Rev C 21