Recon Suite Administrator's Guide v8.6 - JAMF Software
Recon Suite Administrator's Guide v8.6 - JAMF Software
Recon Suite Administrator's Guide v8.6 - JAMF Software

Create successful ePaper yourself
Turn your PDF publications into a flip-book with our unique Google optimized e-Paper software.
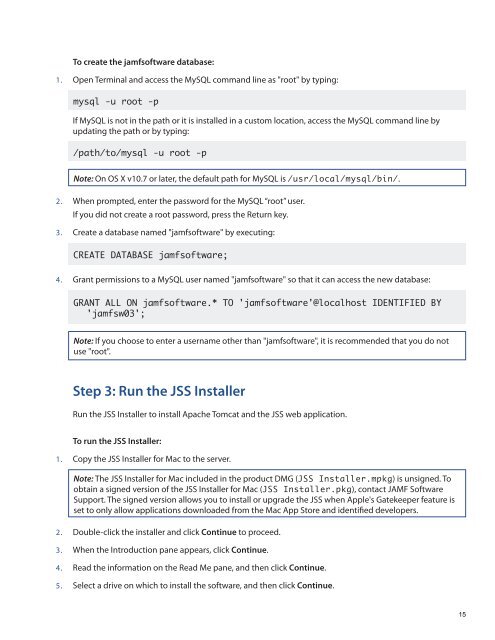
To create the jamfsoftware database:<br />
1. Open Terminal and access the MySQL command line as "root" by typing:<br />
mysql -u root -p<br />
If MySQL is not in the path or it is installed in a custom location, access the MySQL command line by<br />
updating the path or by typing:<br />
/path/to/mysql -u root -p<br />
Note: On OS X v10.7 or later, the default path for MySQL is /usr/local/mysql/bin/.<br />
2. When prompted, enter the password for the MySQL “root” user.<br />
If you did not create a root password, press the Return key.<br />
3. Create a database named "jamfsoftware" by executing:<br />
CREATE DATABASE jamfsoftware;<br />
4. Grant permissions to a MySQL user named "jamfsoftware" so that it can access the new database:<br />
GRANT ALL ON jamfsoftware.* TO 'jamfsoftware'@localhost IDENTIFIED BY<br />
'jamfsw03';<br />
Note: If you choose to enter a username other than "jamfsoftware", it is recommended that you do not<br />
use "root".<br />
Step 3: Run the JSS Installer<br />
Run the JSS Installer to install Apache Tomcat and the JSS web application.<br />
To run the JSS Installer:<br />
1. Copy the JSS Installer for Mac to the server.<br />
Note: The JSS Installer for Mac included in the product DMG (JSS Installer.mpkg) is unsigned. To<br />
obtain a signed version of the JSS Installer for Mac (JSS Installer.pkg), contact <strong>JAMF</strong> <strong>Software</strong><br />
Support. The signed version allows you to install or upgrade the JSS when Apple's Gatekeeper feature is<br />
set to only allow applications downloaded from the Mac App Store and identified developers.<br />
2. Double-click the installer and click Continue to proceed.<br />
3. When the Introduction pane appears, click Continue.<br />
4. Read the information on the Read Me pane, and then click Continue.<br />
5. Select a drive on which to install the software, and then click Continue.<br />
15