Omega-Voice VMI Technical Manual (5th Edition) (PN 500175)
Omega-Voice VMI Technical Manual (5th Edition) (PN 500175)
Omega-Voice VMI Technical Manual (5th Edition) (PN 500175)

Create successful ePaper yourself
Turn your PDF publications into a flip-book with our unique Google optimized e-Paper software.
<strong>Omega</strong>-<strong>Voice</strong> <strong>VMI</strong> <strong>Technical</strong> <strong>Manual</strong><br />
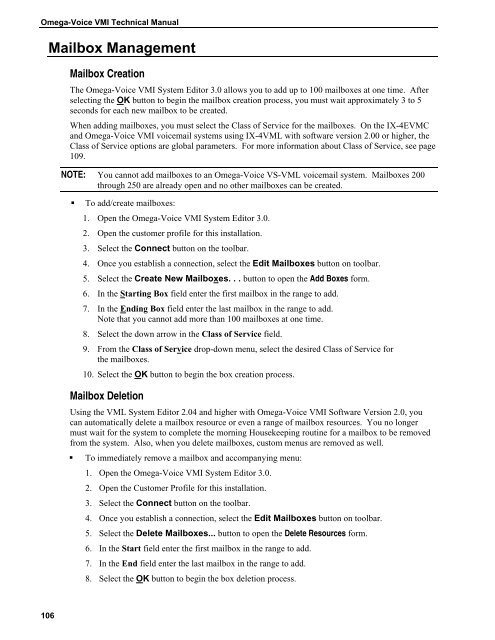
Mailbox Management<br />
Mailbox Creation<br />
The <strong>Omega</strong>-<strong>Voice</strong> <strong>VMI</strong> System Editor 3.0 allows you to add up to 100 mailboxes at one time. After<br />
selecting the OK button to begin the mailbox creation process, you must wait approximately 3 to 5<br />
seconds for each new mailbox to be created.<br />
When adding mailboxes, you must select the Class of Service for the mailboxes. On the IX-4EVMC<br />
and <strong>Omega</strong>-<strong>Voice</strong> <strong>VMI</strong> voicemail systems using IX-4VML with software version 2.00 or higher, the<br />
Class of Service options are global parameters. For more information about Class of Service, see page<br />
109.<br />
NOTE: You cannot add mailboxes to an <strong>Omega</strong>-<strong>Voice</strong> VS-VML voicemail system. Mailboxes 200<br />
through 250 are already open and no other mailboxes can be created.<br />
• To add/create mailboxes:<br />
1. Open the <strong>Omega</strong>-<strong>Voice</strong> <strong>VMI</strong> System Editor 3.0.<br />
2. Open the customer profile for this installation.<br />
3. Select the Connect button on the toolbar.<br />
4. Once you establish a connection, select the Edit Mailboxes button on toolbar.<br />
5. Select the Create New Mailboxes. . . button to open the Add Boxes form.<br />
6. In the Starting Box field enter the first mailbox in the range to add.<br />
7. In the Ending Box field enter the last mailbox in the range to add.<br />
Note that you cannot add more than 100 mailboxes at one time.<br />
8. Select the down arrow in the Class of Service field.<br />
9. From the Class of Service drop-down menu, select the desired Class of Service for<br />
the mailboxes.<br />
10. Select the OK button to begin the box creation process.<br />
Mailbox Deletion<br />
Using the VML System Editor 2.04 and higher with <strong>Omega</strong>-<strong>Voice</strong> <strong>VMI</strong> Software Version 2.0, you<br />
can automatically delete a mailbox resource or even a range of mailbox resources. You no longer<br />
must wait for the system to complete the morning Housekeeping routine for a mailbox to be removed<br />
from the system. Also, when you delete mailboxes, custom menus are removed as well.<br />
• To immediately remove a mailbox and accompanying menu:<br />
1. Open the <strong>Omega</strong>-<strong>Voice</strong> <strong>VMI</strong> System Editor 3.0.<br />
2. Open the Customer Profile for this installation.<br />
3. Select the Connect button on the toolbar.<br />
4. Once you establish a connection, select the Edit Mailboxes button on toolbar.<br />
5. Select the Delete Mailboxes... button to open the Delete Resources form.<br />
6. In the Start field enter the first mailbox in the range to add.<br />
7. In the End field enter the last mailbox in the range to add.<br />
8. Select the OK button to begin the box deletion process.<br />
106