AFS Foundry Sand Testing Equipment Operating Instructions Manual
AFS Foundry Sand Testing Equipment Operating Instructions Manual
AFS Foundry Sand Testing Equipment Operating Instructions Manual
- No tags were found...

You also want an ePaper? Increase the reach of your titles
YUMPU automatically turns print PDFs into web optimized ePapers that Google loves.
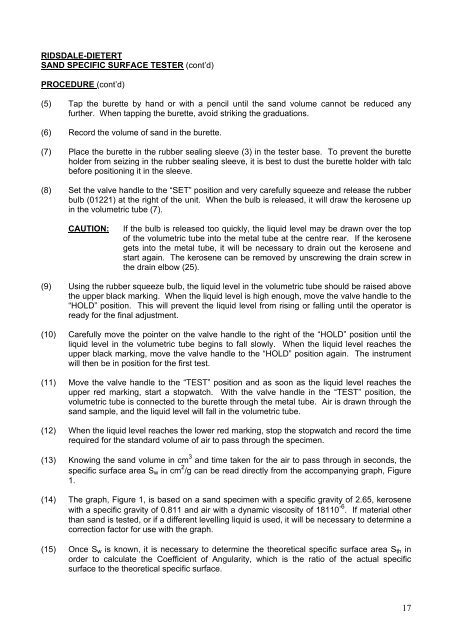
RIDSDALE-DIETERTSAND SPECIFIC SURFACE TESTER (cont’d)PROCEDURE (cont’d)(5) Tap the burette by hand or with a pencil until the sand volume cannot be reduced anyfurther. When tapping the burette, avoid striking the graduations.(6) Record the volume of sand in the burette.(7) Place the burette in the rubber sealing sleeve (3) in the tester base. To prevent the buretteholder from seizing in the rubber sealing sleeve, it is best to dust the burette holder with talcbefore positioning it in the sleeve.(8) Set the valve handle to the “SET” position and very carefully squeeze and release the rubberbulb (01221) at the right of the unit. When the bulb is released, it will draw the kerosene upin the volumetric tube (7).CAUTION:If the bulb is released too quickly, the liquid level may be drawn over the topof the volumetric tube into the metal tube at the centre rear. If the kerosenegets into the metal tube, it will be necessary to drain out the kerosene andstart again. The kerosene can be removed by unscrewing the drain screw inthe drain elbow (25).(9) Using the rubber squeeze bulb, the liquid level in the volumetric tube should be raised abovethe upper black marking. When the liquid level is high enough, move the valve handle to the“HOLD” position. This will prevent the liquid level from rising or falling until the operator isready for the final adjustment.(10) Carefully move the pointer on the valve handle to the right of the “HOLD” position until theliquid level in the volumetric tube begins to fall slowly. When the liquid level reaches theupper black marking, move the valve handle to the “HOLD” position again. The instrumentwill then be in position for the first test.(11) Move the valve handle to the “TEST” position and as soon as the liquid level reaches theupper red marking, start a stopwatch. With the valve handle in the “TEST” position, thevolumetric tube is connected to the burette through the metal tube. Air is drawn through thesand sample, and the liquid level will fall in the volumetric tube.(12) When the liquid level reaches the lower red marking, stop the stopwatch and record the timerequired for the standard volume of air to pass through the specimen.(13) Knowing the sand volume in cm 3 and time taken for the air to pass through in seconds, thespecific surface area S w in cm 2 /g can be read directly from the accompanying graph, Figure1.(14) The graph, Figure 1, is based on a sand specimen with a specific gravity of 2.65, kerosenewith a specific gravity of 0.811 and air with a dynamic viscosity of 18110 -6 . If material otherthan sand is tested, or if a different levelling liquid is used, it will be necessary to determine acorrection factor for use with the graph.(15) Once S w is known, it is necessary to determine the theoretical specific surface area S th inorder to calculate the Coefficient of Angularity, which is the ratio of the actual specificsurface to the theoretical specific surface.17