Script for Laboratory: Designing embedded ASIPs - CES
Script for Laboratory: Designing embedded ASIPs - CES
Script for Laboratory: Designing embedded ASIPs - CES

You also want an ePaper? Increase the reach of your titles
YUMPU automatically turns print PDFs into web optimized ePapers that Google loves.
included. This template is a good starting point to create a new project from the scratch.<br />
Usually you can copy from your last project to create a new one, but sometimes it is better to<br />
start from the scratch.<br />
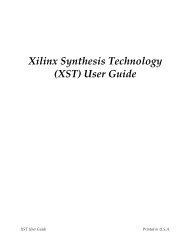
TEMPLATE_<br />
PROJECT TEMPLATE_<br />
PROJECT<br />
ASIPMeisterProjects<br />
dlx_basis AnotherProject<br />
dlx_basis AnotherProject<br />
dlx_basis AnotherProject<br />
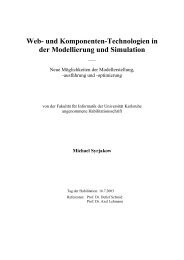
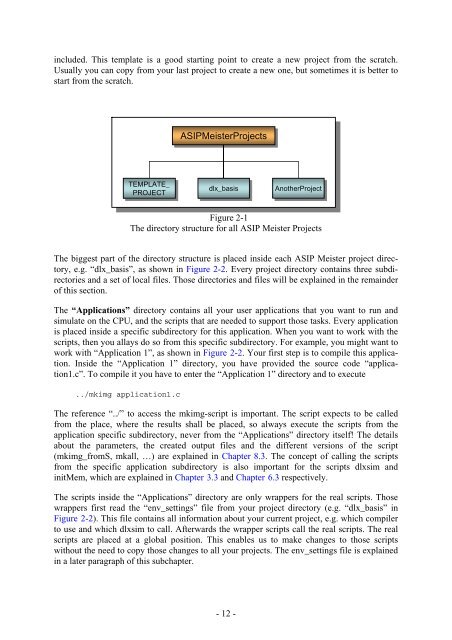
Figure 2-1<br />
The directory structure <strong>for</strong> all ASIP Meister Projects<br />
The biggest part of the directory structure is placed inside each ASIP Meister project directory,<br />
e.g. “dlx_basis”, as shown in Figure 2-2. Every project directory contains three subdirectories<br />
and a set of local files. Those directories and files will be explained in the remainder<br />
of this section.<br />
The “Applications” directory contains all your user applications that you want to run and<br />
simulate on the CPU, and the scripts that are needed to support those tasks. Every application<br />
is placed inside a specific subdirectory <strong>for</strong> this application. When you want to work with the<br />
scripts, then you allays do so from this specific subdirectory. For example, you might want to<br />
work with “Application 1”, as shown in Figure 2-2. Your first step is to compile this application.<br />
Inside the “Application 1” directory, you have provided the source code “application1.c”.<br />
To compile it you have to enter the “Application 1” directory and to execute<br />
../mkimg application1.c<br />
The reference “../” to access the mkimg-script is important. The script expects to be called<br />
from the place, where the results shall be placed, so always execute the scripts from the<br />
application specific subdirectory, never from the “Applications” directory itself! The details<br />
about the parameters, the created output files and the different versions of the script<br />
(mkimg_fromS, mkall, …) are explained in Chapter 8.3. The concept of calling the scripts<br />
from the specific application subdirectory is also important <strong>for</strong> the scripts dlxsim and<br />
initMem, which are explained in Chapter 3.3 and Chapter 6.3 respectively.<br />
The scripts inside the “Applications” directory are only wrappers <strong>for</strong> the real scripts. Those<br />
wrappers first read the “env_settings” file from your project directory (e.g. “dlx_basis” in<br />
Figure 2-2). This file contains all in<strong>for</strong>mation about your current project, e.g. which compiler<br />
to use and which dlxsim to call. Afterwards the wrapper scripts call the real scripts. The real<br />
scripts are placed at a global position. This enables us to make changes to those scripts<br />
without the need to copy those changes to all your projects. The env_settings file is explained<br />
in a later paragraph of this subchapter.<br />
- 12 -