Script for Laboratory: Designing embedded ASIPs - CES
Script for Laboratory: Designing embedded ASIPs - CES
Script for Laboratory: Designing embedded ASIPs - CES

Create successful ePaper yourself
Turn your PDF publications into a flip-book with our unique Google optimized e-Paper software.
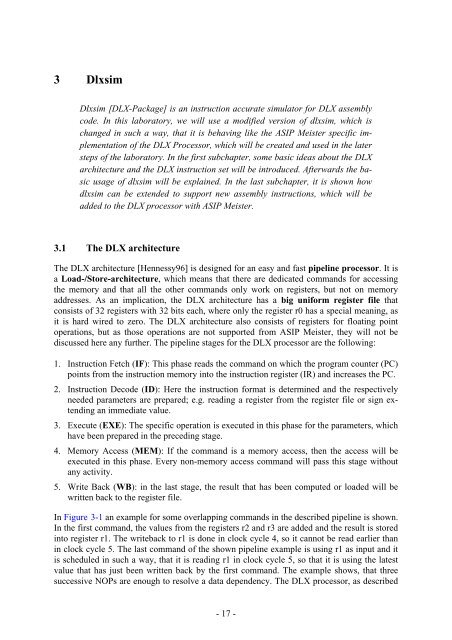
3 Dlxsim<br />
Dlxsim [DLX-Package] is an instruction accurate simulator <strong>for</strong> DLX assembly<br />
code. In this laboratory, we will use a modified version of dlxsim, which is<br />
changed in such a way, that it is behaving like the ASIP Meister specific implementation<br />
of the DLX Processor, which will be created and used in the later<br />
steps of the laboratory. In the first subchapter, some basic ideas about the DLX<br />
architecture and the DLX instruction set will be introduced. Afterwards the basic<br />
usage of dlxsim will be explained. In the last subchapter, it is shown how<br />
dlxsim can be extended to support new assembly instructions, which will be<br />
added to the DLX processor with ASIP Meister.<br />
3.1 The DLX architecture<br />
The DLX architecture [Hennessy96] is designed <strong>for</strong> an easy and fast pipeline processor. It is<br />
a Load-/Store-architecture, which means that there are dedicated commands <strong>for</strong> accessing<br />
the memory and that all the other commands only work on registers, but not on memory<br />
addresses. As an implication, the DLX architecture has a big uni<strong>for</strong>m register file that<br />
consists of 32 registers with 32 bits each, where only the register r0 has a special meaning, as<br />
it is hard wired to zero. The DLX architecture also consists of registers <strong>for</strong> floating point<br />
operations, but as those operations are not supported from ASIP Meister, they will not be<br />
discussed here any further. The pipeline stages <strong>for</strong> the DLX processor are the following:<br />
1. Instruction Fetch (IF): This phase reads the command on which the program counter (PC)<br />
points from the instruction memory into the instruction register (IR) and increases the PC.<br />
2. Instruction Decode (ID): Here the instruction <strong>for</strong>mat is determined and the respectively<br />
needed parameters are prepared; e.g. reading a register from the register file or sign extending<br />
an immediate value.<br />
3. Execute (EXE): The specific operation is executed in this phase <strong>for</strong> the parameters, which<br />
have been prepared in the preceding stage.<br />
4. Memory Access (MEM): If the command is a memory access, then the access will be<br />
executed in this phase. Every non-memory access command will pass this stage without<br />
any activity.<br />
5. Write Back (WB): in the last stage, the result that has been computed or loaded will be<br />
written back to the register file.<br />
In Figure 3-1 an example <strong>for</strong> some overlapping commands in the described pipeline is shown.<br />
In the first command, the values from the registers r2 and r3 are added and the result is stored<br />
into register r1. The writeback to r1 is done in clock cycle 4, so it cannot be read earlier than<br />
in clock cycle 5. The last command of the shown pipeline example is using r1 as input and it<br />
is scheduled in such a way, that it is reading r1 in clock cycle 5, so that it is using the latest<br />
value that has just been written back by the first command. The example shows, that three<br />
successive NOPs are enough to resolve a data dependency. The DLX processor, as described<br />
- 17 -