User's Guide
User's Guide
User's Guide

You also want an ePaper? Increase the reach of your titles
YUMPU automatically turns print PDFs into web optimized ePapers that Google loves.
10: Making Overlays<br />
Making a New Overlay: Preparation<br />
There are four things to do before you make an overlay using Overlay Maker 3:<br />
1. Decide the overlay’s purpose.<br />
2. Determine its basic layout and appearance.<br />
3. Connect a printer and IntelliKeys to your computer.<br />
4. Launch Overlay Maker 3.<br />
Making a New Overlay: Using a Blank Overlay<br />
How do I make an overlay using a blank overlay?<br />
1. From the Navigation Screen, click the New button.<br />
2. Select and open the Blank Overlay. A new (blank) overlay displays.<br />
3. Add one or more keys to the overlay. Add different or additional key content to the<br />
key(s) if the default key content [Same As text Label] is not the needed key content.<br />
Edit the appearance of the key(s). Add a text label and/or key picture. Position key(s).<br />
You can create an<br />
overlay without<br />
Note<br />
having an<br />
IntelliKeys connected;<br />
however, you will not be<br />
able to test the overlay.<br />
You can create an<br />
overlay without<br />
Note<br />
having a printer<br />
connected; however, you<br />
will not be able to print<br />
the overlay.<br />
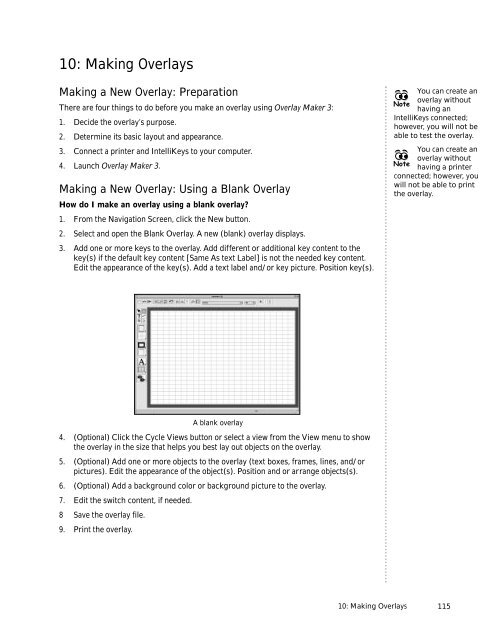
A blank overlay<br />
4. (Optional) Click the Cycle Views button or select a view from the View menu to show<br />
the overlay in the size that helps you best lay out objects on the overlay.<br />
5. (Optional) Add one or more objects to the overlay (text boxes, frames, lines, and/or<br />
pictures). Edit the appearance of the object(s). Position and or arrange objects(s).<br />
6. (Optional) Add a background color or background picture to the overlay.<br />
7. Edit the switch content, if needed.<br />
8 Save the overlay file.<br />
9. Print the overlay.<br />
10: Making Overlays<br />
115