User's Guide
User's Guide
User's Guide

You also want an ePaper? Increase the reach of your titles
YUMPU automatically turns print PDFs into web optimized ePapers that Google loves.
Saving Overlay Files: Using the Save As Send-Only Option<br />
To make it easy to only send an overlay’s key content to IntelliKeys, use the Save As Send-<br />
Only option. By default, Send-Only files are saved to the desktop (though you can save<br />
them elsewhere). Once saved, double-clicking the Send-Only file will send the overlay’s key<br />
content to IntelliKeys without opening Overlay Maker 3 and displaying the overlay.<br />
How do I save an Overlay Maker 3 overlay as a<br />
Send-Only file?<br />
1. Select Save As Send-Only from the File menu. The<br />
Save As dialog box used with your operating system<br />
displays.<br />
2. Navigate to the desktop or elsewhere on your<br />
computer (network).<br />
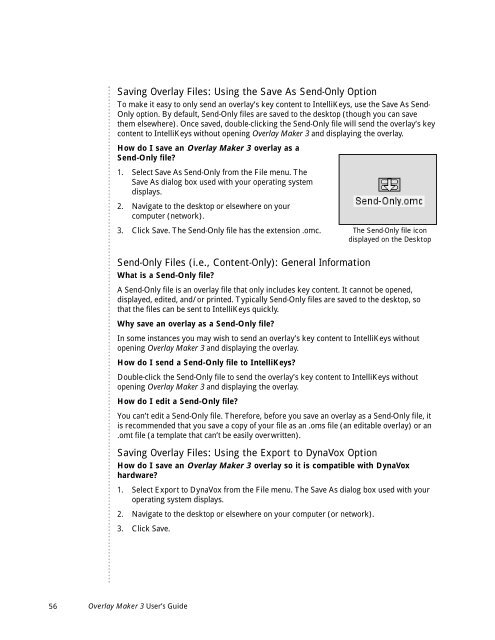
3. Click Save. The Send-Only file has the extension .omc.<br />
Send-Only Files (i.e., Content-Only): General Information<br />
What is a Send-Only file?<br />
The Send-Only file icon<br />
displayed on the Desktop<br />
A Send-Only file is an overlay file that only includes key content. It cannot be opened,<br />
displayed, edited, and/or printed. Typically Send-Only files are saved to the desktop, so<br />
that the files can be sent to IntelliKeys quickly.<br />
Why save an overlay as a Send-Only file?<br />
In some instances you may wish to send an overlay’s key content to IntelliKeys without<br />
opening Overlay Maker 3 and displaying the overlay.<br />
How do I send a Send-Only file to IntelliKeys?<br />
Double-click the Send-Only file to send the overlay’s key content to IntelliKeys without<br />
opening Overlay Maker 3 and displaying the overlay.<br />
How do I edit a Send-Only file?<br />
You can’t edit a Send-Only file. Therefore, before you save an overlay as a Send-Only file, it<br />
is recommended that you save a copy of your file as an .oms file (an editable overlay) or an<br />
.omt file (a template that can’t be easily overwritten).<br />
Saving Overlay Files: Using the Export to DynaVox Option<br />
How do I save an Overlay Maker 3 overlay so it is compatible with DynaVox<br />
hardware?<br />
1. Select Export to DynaVox from the File menu. The Save As dialog box used with your<br />
operating system displays.<br />
2. Navigate to the desktop or elsewhere on your computer (or network).<br />
3. Click Save.<br />
56 Overlay Maker 3 User’s <strong>Guide</strong>