InduSoft Web Studio - InduSoft Corporation
InduSoft Web Studio - InduSoft Corporation
InduSoft Web Studio - InduSoft Corporation

Create successful ePaper yourself
Turn your PDF publications into a flip-book with our unique Google optimized e-Paper software.
<strong>InduSoft</strong> <strong>Web</strong> <strong>Studio</strong><br />
Tutorial training – Revision B – Sep/10/2000<br />
© Copyright <strong>InduSoft</strong> Ltd. 2000<br />
6. Creating New Screens<br />
Before creating any screens, you should think about the structure of the application screens. It is<br />
possible to open more than one screen at the same time in applications for Win9x/NT/2000, but in<br />
the Windows CE version you can create a default screen with a header and footer (template) and<br />
insert objects in this window, saving it under different names to make the different screens.<br />
Usually, there are three basic areas on a screen (or types of screens):<br />
Header: Objects on the top of the screen that provide standard information (date, time, etc).<br />
Footer: Objects at the bottom of the screen, often an alarm object showing the last alarm.<br />
Regular: This is the space between the header and the footer. It can show information about the<br />
process, an alarm screen, trend, etc. …<br />
The advantages to using this structure to develop our screens in our applications are that it:<br />
• Ties screens together according to their utility in the application.<br />
• Allows you to configure the links and dynamics that are common for all screens just once.<br />
• Gives the application a default format.<br />
• Allows you to build modular screens that can be used in other projects.<br />
With this recommended structure, we can begin to create screens for the application.<br />
Creating a Standard Screen<br />
The standard screen is going to be used as a template for all of the other screens. The rest of the<br />
screens will be created using this screen and saving it with other name. This way we always will<br />
have the same screen attributes and basic objects across all of the screens.<br />
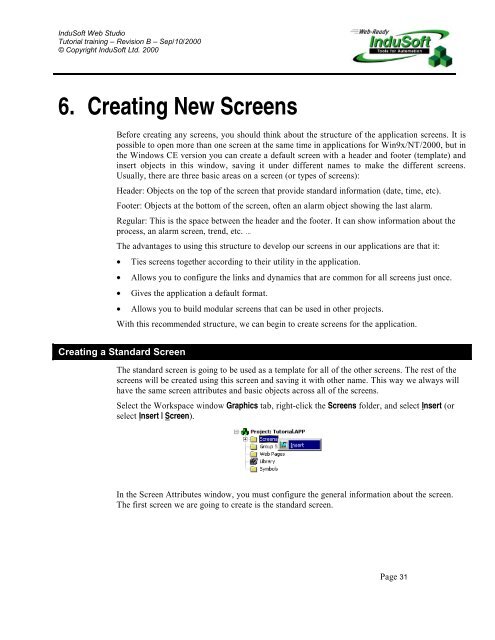
Select the Workspace window Graphics tab, right-click the Screens folder, and select Insert (or<br />
select Insert | Screen).<br />
In the Screen Attributes window, you must configure the general information about the screen.<br />
The first screen we are going to create is the standard screen.<br />
Page 31