WEIGH SCALE BLENDER® - Maguire Products
WEIGH SCALE BLENDER® - Maguire Products
WEIGH SCALE BLENDER® - Maguire Products
You also want an ePaper? Increase the reach of your titles
YUMPU automatically turns print PDFs into web optimized ePapers that Google loves.
<strong>WEIGH</strong> <strong>SCALE</strong> <strong>BLENDER®</strong><br />
MAGUIRE PRODUCTS, INC.<br />
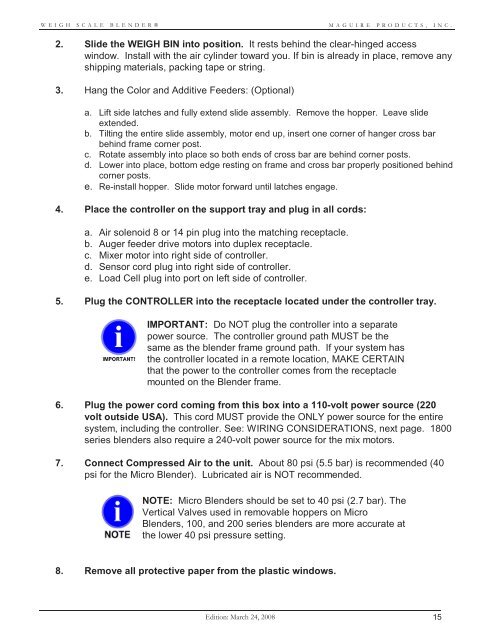
2. Slide the <strong>WEIGH</strong> BIN into position. It rests behind the clear-hinged access<br />
window. Install with the air cylinder toward you. If bin is already in place, remove any<br />
shipping materials, packing tape or string.<br />
3. Hang the Color and Additive Feeders: (Optional)<br />
a. Lift side latches and fully extend slide assembly. Remove the hopper. Leave slide<br />
extended.<br />
b. Tilting the entire slide assembly, motor end up, insert one corner of hanger cross bar<br />
behind frame corner post.<br />
c. Rotate assembly into place so both ends of cross bar are behind corner posts.<br />
d. Lower into place, bottom edge resting on frame and cross bar properly positioned behind<br />
corner posts.<br />
e. Re-install hopper. Slide motor forward until latches engage.<br />
4. Place the controller on the support tray and plug in all cords:<br />
a. Air solenoid 8 or 14 pin plug into the matching receptacle.<br />
b. Auger feeder drive motors into duplex receptacle.<br />
c. Mixer motor into right side of controller.<br />
d. Sensor cord plug into right side of controller.<br />
e. Load Cell plug into port on left side of controller.<br />
5. Plug the CONTROLLER into the receptacle located under the controller tray.<br />
IMPORTANT: Do NOT plug the controller into a separate<br />
power source. The controller ground path MUST be the<br />
same as the blender frame ground path. If your system has<br />
the controller located in a remote location, MAKE CERTAIN<br />
that the power to the controller comes from the receptacle<br />
mounted on the Blender frame.<br />
6. Plug the power cord coming from this box into a 110-volt power source (220<br />
volt outside USA). This cord MUST provide the ONLY power source for the entire<br />
system, including the controller. See: WIRING CONSIDERATIONS, next page. 1800<br />
series blenders also require a 240-volt power source for the mix motors.<br />
7. Connect Compressed Air to the unit. About 80 psi (5.5 bar) is recommended (40<br />
psi for the Micro Blender). Lubricated air is NOT recommended.<br />
NOTE: Micro Blenders should be set to 40 psi (2.7 bar). The<br />
Vertical Valves used in removable hoppers on Micro<br />
Blenders, 100, and 200 series blenders are more accurate at<br />
the lower 40 psi pressure setting.<br />
8. Remove all protective paper from the plastic windows.<br />
Edition: March 24, 2008 15


