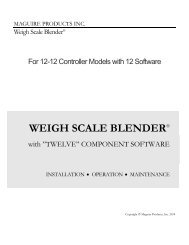
WEIGH SCALE BLENDER® - Maguire Products
WEIGH SCALE BLENDER® - Maguire Products
WEIGH SCALE BLENDER® - Maguire Products

You also want an ePaper? Increase the reach of your titles
YUMPU automatically turns print PDFs into web optimized ePapers that Google loves.
<strong>WEIGH</strong> <strong>SCALE</strong> <strong>BLENDER®</strong><br />
MAGUIRE PRODUCTS, INC.<br />
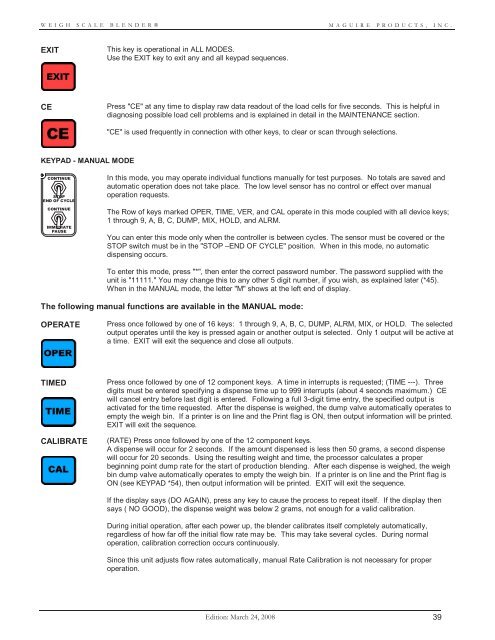
EXIT<br />
This key is operational in ALL MODES.<br />
Use the EXIT key to exit any and all keypad sequences.<br />
CE<br />
Press "CE" at any time to display raw data readout of the load cells for five seconds. This is helpful in<br />
diagnosing possible load cell problems and is explained in detail in the MAINTENANCE section.<br />
"CE" is used frequently in connection with other keys, to clear or scan through selections.<br />
KEYPAD - MANUAL MODE<br />
CONTINUE<br />
STOP<br />
END OF CYCLE<br />
CONTINUE<br />
IMMEDIATE<br />
PAUSE<br />
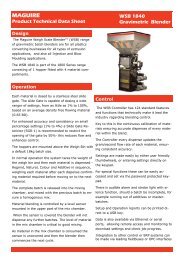
In this mode, you may operate individual functions manually for test purposes. No totals are saved and<br />
automatic operation does not take place. The low level sensor has no control or effect over manual<br />
operation requests.<br />
The Row of keys marked OPER, TIME, VER, and CAL operate in this mode coupled with all device keys;<br />
1 through 9, A, B, C, DUMP, MIX, HOLD, and ALRM.<br />
You can enter this mode only when the controller is between cycles. The sensor must be covered or the<br />
STOP switch must be in the "STOP –END OF CYCLE" position. When in this mode, no automatic<br />
dispensing occurs.<br />
To enter this mode, press "*", then enter the correct password number. The password supplied with the<br />
unit is "11111." You may change this to any other 5 digit number, if you wish, as explained later (*45).<br />
When in the MANUAL mode, the letter "M" shows at the left end of display.<br />
The following manual functions are available in the MANUAL mode:<br />
OPERATE<br />
Press once followed by one of 16 keys: 1 through 9, A, B, C, DUMP, ALRM, MIX, or HOLD. The selected<br />
output operates until the key is pressed again or another output is selected. Only 1 output will be active at<br />
a time. EXIT will exit the sequence and close all outputs.<br />
TIMED<br />
CALIBRATE<br />
Press once followed by one of 12 component keys. A time in interrupts is requested; (TIME ---). Three<br />
digits must be entered specifying a dispense time up to 999 interrupts (about 4 seconds maximum.) CE<br />
will cancel entry before last digit is entered. Following a full 3-digit time entry, the specified output is<br />
activated for the time requested. After the dispense is weighed, the dump valve automatically operates to<br />
empty the weigh bin. If a printer is on line and the Print flag is ON, then output information will be printed.<br />
EXIT will exit the sequence.<br />
(RATE) Press once followed by one of the 12 component keys.<br />
A dispense will occur for 2 seconds. If the amount dispensed is less then 50 grams, a second dispense<br />
will occur for 20 seconds. Using the resulting weight and time, the processor calculates a proper<br />
beginning point dump rate for the start of production blending. After each dispense is weighed, the weigh<br />
bin dump valve automatically operates to empty the weigh bin. If a printer is on line and the Print flag is<br />
ON (see KEYPAD *54), then output information will be printed. EXIT will exit the sequence.<br />
If the display says (DO AGAIN), press any key to cause the process to repeat itself. If the display then<br />
says ( NO GOOD), the dispense weight was below 2 grams, not enough for a valid calibration.<br />
During initial operation, after each power up, the blender calibrates itself completely automatically,<br />
regardless of how far off the initial flow rate may be. This may take several cycles. During normal<br />
operation, calibration correction occurs continuously.<br />
Since this unit adjusts flow rates automatically, manual Rate Calibration is not necessary for proper<br />
operation.<br />
Edition: March 24, 2008 39