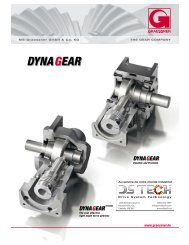
MOTOX gearbox - DS TECH
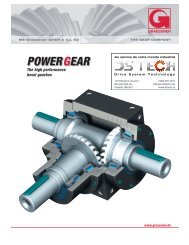
MOTOX gearbox - DS TECH
MOTOX gearbox - DS TECH
- No tags were found...

Create successful ePaper yourself
Turn your PDF publications into a flip-book with our unique Google optimized e-Paper software.
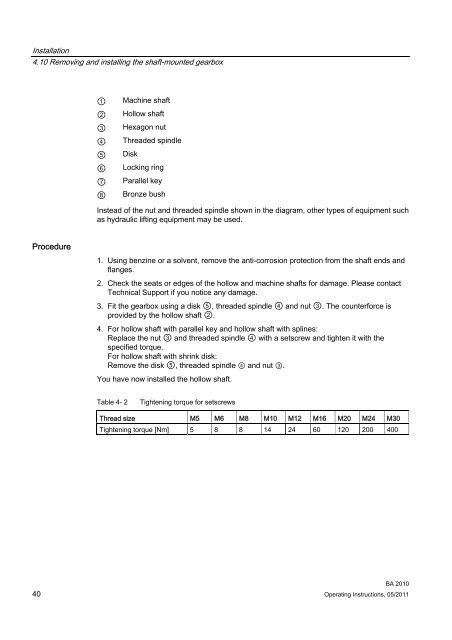
Installation4.10 Removing and installing the shaft-mounted <strong>gearbox</strong>12345678Machine shaftHollow shaftHexagon nutThreaded spindleDiskLocking ringParallel keyBronze bushInstead of the nut and threaded spindle shown in the diagram, other types of equipment suchas hydraulic lifting equipment may be used.Procedure1. Using benzine or a solvent, remove the anti-corrosion protection from the shaft ends andflanges.2. Check the seats or edges of the hollow and machine shafts for damage. Please contactTechnical Support if you notice any damage.3. Fit the <strong>gearbox</strong> using a disk 5, threaded spindle 4 and nut 3. The counterforce isprovided by the hollow shaft 2.4. For hollow shaft with parallel key and hollow shaft with splines:Replace the nut 3 and threaded spindle 4 with a setscrew and tighten it with thespecified torque.For hollow shaft with shrink disk:Remove the disk 5, threaded spindle 4 and nut 3.You have now installed the hollow shaft.Table 4- 2Tightening torque for setscrewsThread size M5 M6 M8 M10 M12 M16 M20 M24 M30Tightening torque [Nm] 5 8 8 14 24 60 120 200 400BA 201040 Operating Instructions, 05/2011