User's Manual - Cornell Lab of Ornithology - Cornell University
User's Manual - Cornell Lab of Ornithology - Cornell University
User's Manual - Cornell Lab of Ornithology - Cornell University
You also want an ePaper? Increase the reach of your titles
YUMPU automatically turns print PDFs into web optimized ePapers that Google loves.
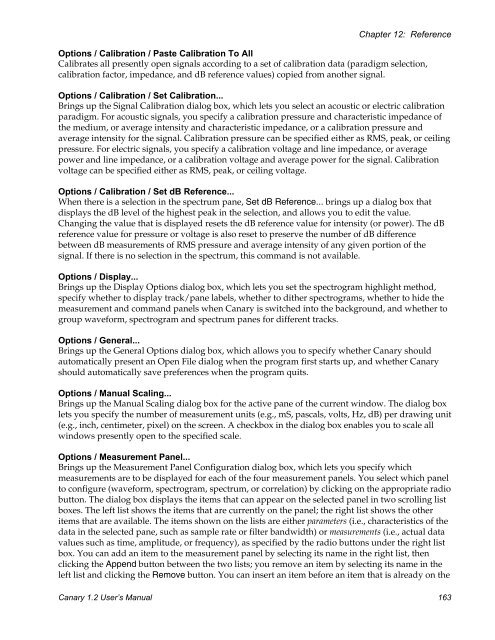
Chapter 12: ReferenceOptions / Calibration / Paste Calibration To AllCalibrates all presently open signals according to a set <strong>of</strong> calibration data (paradigm selection,calibration factor, impedance, and dB reference values) copied from another signal.Options / Calibration / Set Calibration...Brings up the Signal Calibration dialog box, which lets you select an acoustic or electric calibrationparadigm. For acoustic signals, you specify a calibration pressure and characteristic impedance <strong>of</strong>the medium, or average intensity and characteristic impedance, or a calibration pressure andaverage intensity for the signal. Calibration pressure can be specified either as RMS, peak, or ceilingpressure. For electric signals, you specify a calibration voltage and line impedance, or averagepower and line impedance, or a calibration voltage and average power for the signal. Calibrationvoltage can be specified either as RMS, peak, or ceiling voltage.Options / Calibration / Set dB Reference...When there is a selection in the spectrum pane, Set dB Reference... brings up a dialog box thatdisplays the dB level <strong>of</strong> the highest peak in the selection, and allows you to edit the value.Changing the value that is displayed resets the dB reference value for intensity (or power). The dBreference value for pressure or voltage is also reset to preserve the number <strong>of</strong> dB differencebetween dB measurements <strong>of</strong> RMS pressure and average intensity <strong>of</strong> any given portion <strong>of</strong> thesignal. If there is no selection in the spectrum, this command is not available.Options / Display...Brings up the Display Options dialog box, which lets you set the spectrogram highlight method,specify whether to display track/pane labels, whether to dither spectrograms, whether to hide themeasurement and command panels when Canary is switched into the background, and whether togroup waveform, spectrogram and spectrum panes for different tracks.Options / General...Brings up the General Options dialog box, which allows you to specify whether Canary shouldautomatically present an Open File dialog when the program first starts up, and whether Canaryshould automatically save preferences when the program quits.Options / <strong>Manual</strong> Scaling...Brings up the <strong>Manual</strong> Scaling dialog box for the active pane <strong>of</strong> the current window. The dialog boxlets you specify the number <strong>of</strong> measurement units (e.g., mS, pascals, volts, Hz, dB) per drawing unit(e.g., inch, centimeter, pixel) on the screen. A checkbox in the dialog box enables you to scale allwindows presently open to the specified scale.Options / Measurement Panel...Brings up the Measurement Panel Configuration dialog box, which lets you specify whichmeasurements are to be displayed for each <strong>of</strong> the four measurement panels. You select which panelto configure (waveform, spectrogram, spectrum, or correlation) by clicking on the appropriate radiobutton. The dialog box displays the items that can appear on the selected panel in two scrolling listboxes. The left list shows the items that are currently on the panel; the right list shows the otheritems that are available. The items shown on the lists are either parameters (i.e., characteristics <strong>of</strong> thedata in the selected pane, such as sample rate or filter bandwidth) or measurements (i.e., actual datavalues such as time, amplitude, or frequency), as specified by the radio buttons under the right listbox. You can add an item to the measurement panel by selecting its name in the right list, thenclicking the Append button between the two lists; you remove an item by selecting its name in theleft list and clicking the Remove button. You can insert an item before an item that is already on theCanary 1.2 User’s <strong>Manual</strong> 163


