User's Manual - Cornell Lab of Ornithology - Cornell University
User's Manual - Cornell Lab of Ornithology - Cornell University
User's Manual - Cornell Lab of Ornithology - Cornell University
Create successful ePaper yourself
Turn your PDF publications into a flip-book with our unique Google optimized e-Paper software.
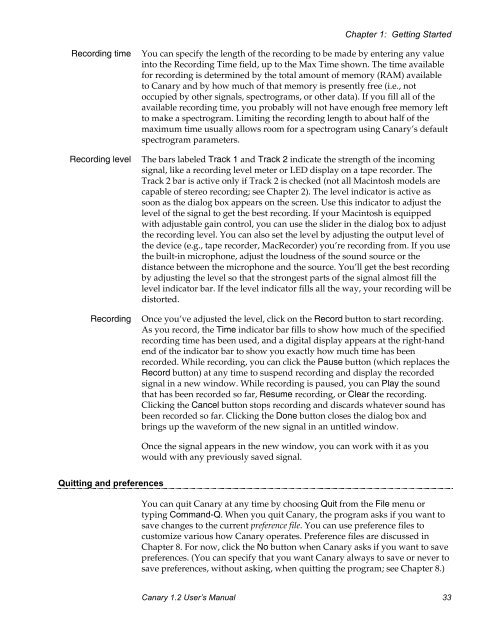
Chapter 1: Getting StartedRecording timeRecording levelRecordingYou can specify the length <strong>of</strong> the recording to be made by entering any valueinto the Recording Time field, up to the Max Time shown. The time availablefor recording is determined by the total amount <strong>of</strong> memory (RAM) availableto Canary and by how much <strong>of</strong> that memory is presently free (i.e., notoccupied by other signals, spectrograms, or other data). If you fill all <strong>of</strong> theavailable recording time, you probably will not have enough free memory leftto make a spectrogram. Limiting the recording length to about half <strong>of</strong> themaximum time usually allows room for a spectrogram using Canary’s defaultspectrogram parameters.The bars labeled Track 1 and Track 2 indicate the strength <strong>of</strong> the incomingsignal, like a recording level meter or LED display on a tape recorder. TheTrack 2 bar is active only if Track 2 is checked (not all Macintosh models arecapable <strong>of</strong> stereo recording; see Chapter 2). The level indicator is active assoon as the dialog box appears on the screen. Use this indicator to adjust thelevel <strong>of</strong> the signal to get the best recording. If your Macintosh is equippedwith adjustable gain control, you can use the slider in the dialog box to adjustthe recording level. You can also set the level by adjusting the output level <strong>of</strong>the device (e.g., tape recorder, MacRecorder) you’re recording from. If you usethe built-in microphone, adjust the loudness <strong>of</strong> the sound source or thedistance between the microphone and the source. You’ll get the best recordingby adjusting the level so that the strongest parts <strong>of</strong> the signal almost fill thelevel indicator bar. If the level indicator fills all the way, your recording will bedistorted.Once you’ve adjusted the level, click on the Record button to start recording.As you record, the Time indicator bar fills to show how much <strong>of</strong> the specifiedrecording time has been used, and a digital display appears at the right-handend <strong>of</strong> the indicator bar to show you exactly how much time has beenrecorded. While recording, you can click the Pause button (which replaces theRecord button) at any time to suspend recording and display the recordedsignal in a new window. While recording is paused, you can Play the soundthat has been recorded so far, Resume recording, or Clear the recording.Clicking the Cancel button stops recording and discards whatever sound hasbeen recorded so far. Clicking the Done button closes the dialog box andbrings up the waveform <strong>of</strong> the new signal in an untitled window.Once the signal appears in the new window, you can work with it as youwould with any previously saved signal.Quitting and preferencesYou can quit Canary at any time by choosing Quit from the File menu ortyping Command-Q. When you quit Canary, the program asks if you want tosave changes to the current preference file. You can use preference files tocustomize various how Canary operates. Preference files are discussed inChapter 8. For now, click the No button when Canary asks if you want to savepreferences. (You can specify that you want Canary always to save or never tosave preferences, without asking, when quitting the program; see Chapter 8.)Canary 1.2 User’s <strong>Manual</strong> 33


