MacFinish 2D-USB Handleiding
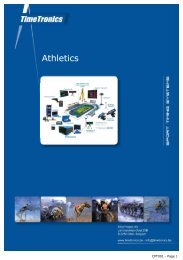
Hoofdstuk 1 - TimeTronics
Hoofdstuk 1 - TimeTronics
- No tags were found...

You also want an ePaper? Increase the reach of your titles
YUMPU automatically turns print PDFs into web optimized ePapers that Google loves.
Page 76<br />
<strong>MacFinish</strong> <strong>2D</strong>-<strong>USB</strong> and MF8.x software<br />
images that you would like to display; see picture below. In the 'Presentation' window (see above) you can select which<br />
image you want to display (2 out of 4 in the example). When you select an image from the list, it will first be shown on<br />
the top-left corner of the photo. With the mouse you can then click and drag the image to any desired position inside the<br />
visible part of the <strong>MacFinish</strong> photo (bottom-left in the example).<br />
You can further select the 'Time Line Size' from a pull-down choice list, and when you click in the 'OK' button, your<br />
<strong>MacFinish</strong> photo will be 'Presented' in 'Full screen mode'. Just click with the mouse button to end the 'Presentation<br />
mode'.<br />
Note; Most of the time, a photo finish operator does not have enough time to wait until the Television crew had the<br />
chance to broadcast the race finish photo, but this should not be a problem, as most or probably all external professional<br />
video converters ( to convert your RGB computer video signal to NTSC or PAL television video format) have a 'freeze'<br />
function to memorize a screen. This means that the photo finish operator only has to use the 'Presentation mode' for a<br />
second, just enough time to press the 'freeze' button on the video converter, and he can continue his normal photo finish<br />
job.